

Midnight Cinematic LIGHTROOM PRESETs
CHECKOUT IS IN THE CART IN THE TOP RIGHT CORNER :)
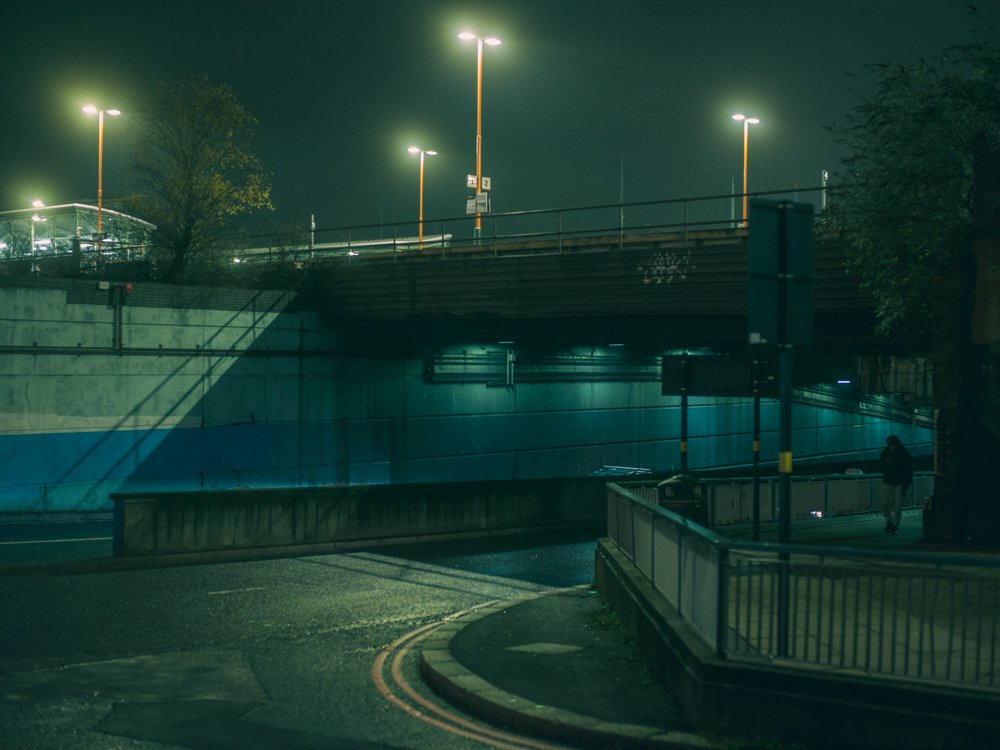
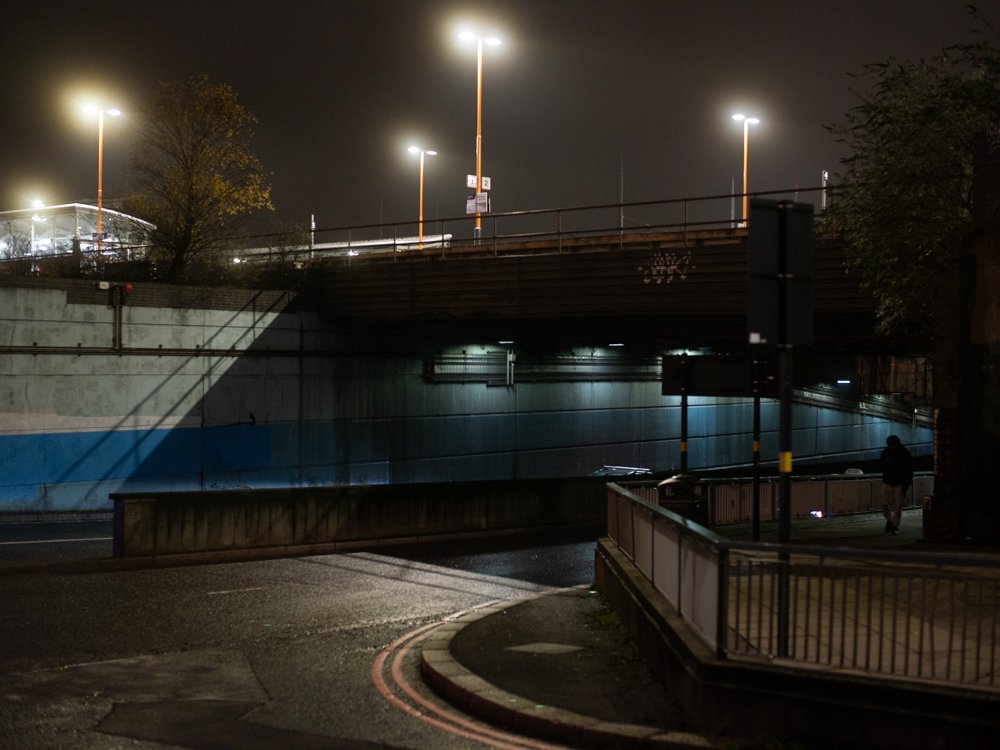
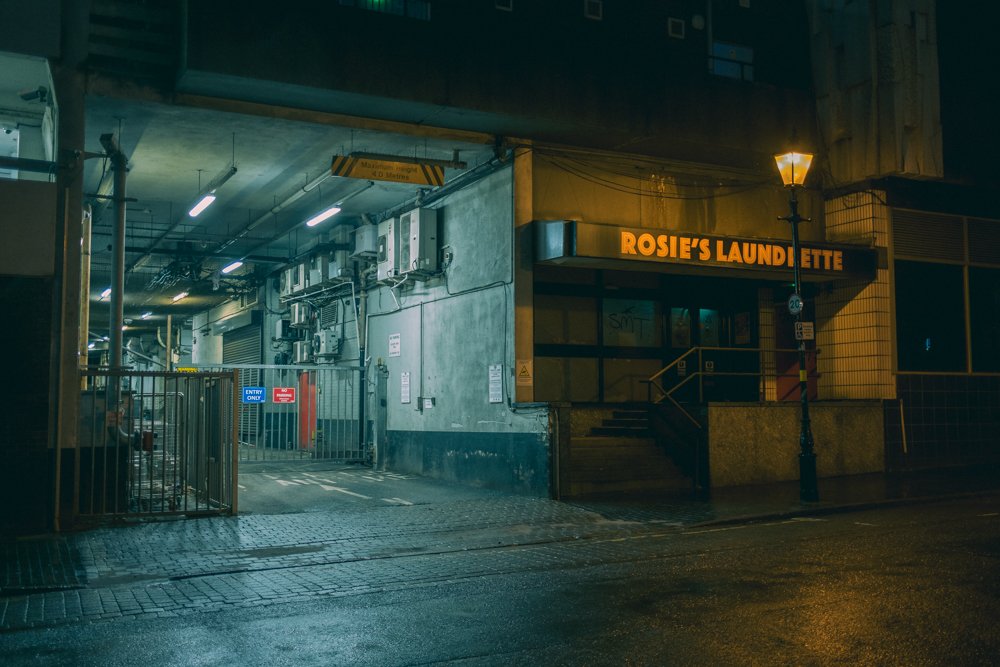
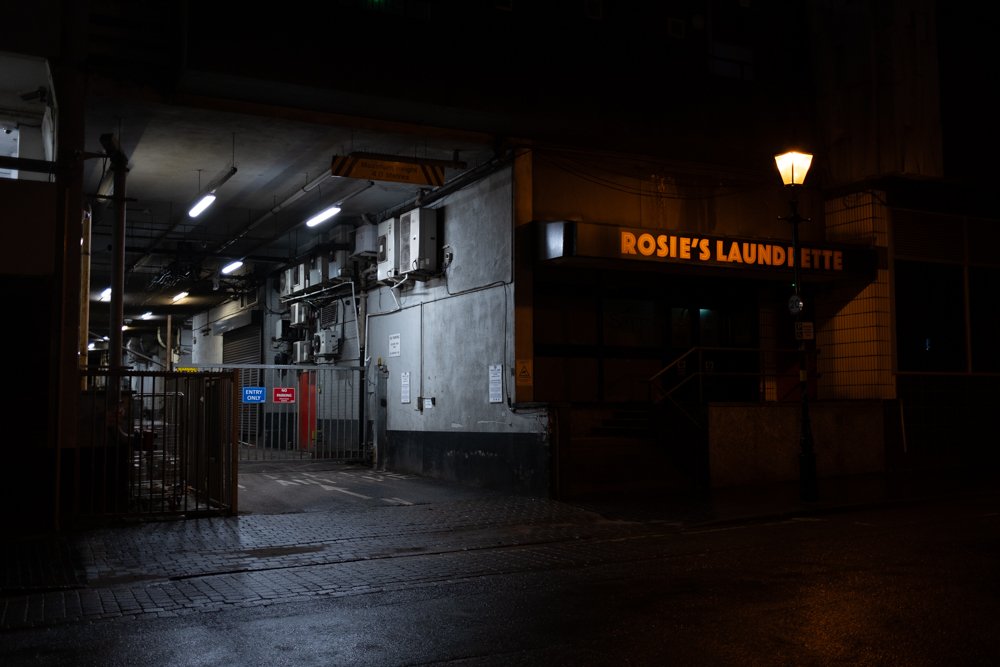
The Midnight Cinematic Lightroom Preset Pack has been specifically designed to enhance your night time images. Adding an additional layer of nostalgia and intrigue. A cinematic colour grade helps energise your images making them feel like a still from a movie. Muted tones and subtle grain give additional life to night time shots.
The colour grade takes advantage of vibrant highlights and deep shadows and pops of colour, in particular in reds in a scene, make your images glow.
What to shoot: This preset pack works well with night time urban landscapes and scenes that have a nostalgic subject matter.
When to shoot: This preset pack works best at night in environments with some artificial light sources.
How to shoot: This preset pack works best with RAW images and correct exposure/white balance.
What is included:
The pack consists of 20 presets, all with their own unique characteristic to help you build the look and feel that best suits your images. In addition, there is:
Easy to follow ‘How to Install Lightroom Presets’ video guide
An additional ‘Getting the best result with your Lightroom Presets’ video guide
The 20 Presets include:
MC - 1 - General - Basic
MC - 1 - General - Deep Blue
MC - 1 - General - Grainy
MC - 1 - General - Punchy Contrast
MC - 1 - General - Warm Orange
MC - 2 - Cinematic Dawn
MC - 2 - Cinematic Dusk
MC - 2 - Flat Night
MC - 2 - Flat Night More Contrast
MC - 2 - Grainy B&W
MC - 2 - Grainy B&W More Contrast
MC - 2 - Midnight Nostalgic 1
MC - 2 - Midnight Nostalgic 2
MC - 2 - Near Dark 1
MC - 2 - Near Dark 2
MC - 2 - Neon Kick
MC - 2 - Neon Kick More Contrast
MC - 2 - Teal & Orange - Basic
MC - 2 - Teal & Orange - Deep Contrast
MC - 2 - Teal & Orange - Highlight Punch
BONUS - Additional 6 Vignette & Grain Presets
Please read the Common Questions below - all sales are final and refunds are not accepted.
COMMON QUESTIONS…
-
A preset is a fantastic tool for achieving a certain look and feel for your images. There are endless editing possibilities in Lightroom so using a preset allows you to achieve a consistent look and feel for your images. The preset can be applied to multiple images at once to save you valuable time on your edits.
In a practical sense, the preset itself is a list of commands that Lightroom uses to change exposure, white balance and a host of other settings to 'edit' how an image looks. The best part? Presets are 'non-destructive' meaning that if you don't like the way something looks, you can simply click 'Reset' and your image will return to exactly how it was originally.
-
Once you have purchased the preset pack and downloaded the contents, please follow the included guidance on installing the preset pack.
How to Install Lightroom Presets on Lightroom Desktop
For Lightroom Classic (Desktop)
1. Download the Presets:
• Download the preset files from the source. These files are often delivered in a .zip format, containing .xmp or .lrtemplate files.
2. Extract the Files:
• If the presets are in a .zip file, right-click and select “Extract All” to unzip the files. After extraction, you should see the preset files (.xmp or .lrtemplate).
3. Open Lightroom Classic:
• Launch Lightroom Classic on your computer.
4. Navigate to the Develop Module:
• Click on the “Develop” module at the top of the screen. This is where you will apply and manage your presets.
5. Open the Presets Panel:
• On the left side of the screen, find the “Presets” panel. If it’s not visible, click the “Presets” tab to expand it.
6. Import the Presets:
• Right-click inside the “Presets” panel and choose “Import.”
• A file browser will open. Navigate to the location where you extracted the preset files, select the .xmp or .lrtemplate files, and click “Import.”
7. Use the Presets:
• Your imported presets will now appear in the “Presets” panel under the “User Presets” section (or in a group if specified). Click on a preset to apply it to your photo.
For Lightroom CC (Desktop)
1. Download the Presets:
• Download the preset files, which are typically .xmp files.
2. Open Lightroom CC:
• Launch Lightroom CC on your desktop.
3. Import Presets:
• Click on the “File” menu at the top and select “Import Profiles & Presets.”
• A file browser window will appear. Navigate to the folder where you saved the preset files, select them, and click “Import.”
4. Access the Presets:
• Open a photo for editing in Lightroom CC.
• On the right-hand side, under the “Edit” panel, click on the “Presets” button at the bottom.
• Your imported presets will appear in the list. Click on any preset to apply it to your photo.
Final Tips
• Organize Presets: You can organize your presets into groups for easier access. This can be done during the import process in Lightroom Classic or by creating preset groups manually.
• Backup Presets: Keep a backup of your presets on an external drive or cloud storage to avoid losing them.
By following these steps, you can easily install and use presets in both Lightroom Classic and Lightroom CC on your desktop, streamlining your photo editing process.
-
I strongly recommend shooting RAW rather than Jpeg wherever possible to get the most dynamic range and flexibility when editing. My presets and in particular, the 'Modern Nostalgia' preset pack work better in sunnier, light conditions and with a subject matter that leans towards the nostalgic, rather than ultra-modern.
Please be sure to use properly exposed images and try to avoid extreme temperature casts (too warm or too cold). Please see the included guidance for getting the most out of the preset pack.
-
These presets are not designed for any one specific make or model of camera. However, if you are looking to achieve a more nostalgic feel, using older cameras and in particular, CCD sensor cameras will work great. Please note, sensor performance has vastly improved over the years so you may notice that dynamic range, sharpness and colour rendition are not as good with older cameras.
-
These presets are design specifically for use with Desktop versions of Lightroom. I will be making Mobile specific preset packs in the future so please check back for more.
-
In most circumstances, the presets will give your images a more nostalgic feel. However, to really get the most from the preset, I strongly recommend adding your own tweaks to your images. Every image is different and some images will work better than others with each preset - so having a little knowledge will help you get the most out of the presets. Watch the included guide to help get amazing results with the preset packs.
-
No, unfortunately, As this is a digital product and not physical, it's not possible for me to offer a refund. If you have any concerns, please contact me before purchasing and I will do my best to answer any questions. All sales are final.
IF YOU NEED ANY FURTHER HELP WITH YOUR PURCHASE, PLEASE FEEL FREE TO contact me :)

