
CASE STUDY: My Experiences of the QNAP TS-435B NAS

As you will have seen in my recent blog posts, I have focussed quite heavily on storage, the importance of protecting your data and Network Attached Storage (NAS). Having used a NAS system for over six months now, I feel in a good position to share my findings on whether it has helped me, any pitfalls I have found and if I would change anything about my setup.
Is NAS right for you?
The first thing to address is that not every storage solution is right for every photographer and there is definitely an element of choosing 'what fits for you'. I still continue to use small, portable hard drives when I travel but knowing that the vast majority of editing would be done at home, meant that I could afford to choose a solution that did not need to be portable. furthermore, I knew that the volume of storage I would need would be huge, in the Terabytes! Which automatically meant that Cloud Storage would be a bit of an issue. So rather quickly, I knew that I was looking at a 'home' based solution.
Secondly, I knew that I would be using multiple computers as (for my sins) I use both Mac and PC to edit on. So I need a system that was both flexible and could be used across a network. Naturally, NAS kept coming up as an option, so I decided to explore it a little deeper. Everyones needs will be slightly different, so doing your research is essential. however, NAS is such a versatile tool, as we will see, that it can really be adapted for most peoples needs.
Choosing the right NAS system
There really are hundreds of options out there and like cameras, they range from the very basic to the extremely complicated and the costs span a similar range, form quite affordable to very, very expensive! Due to the wide range of choice, I would set a realistic budget before even looking at requirements and try to stick to it! The second, important factor to consider is that you will (in most cases) also need to populate the NAS with hard disks, so don't forget to budget for the disks as well!
As with everything in photography, the costs soon add up so being budget conscious is essential. Once you have an idea of what you can spend, look at what your most 'essential' requirements are and go from there. Many NAS systems offer a plethora of additional services, such as the ability to be used as a virtual PC, a media centre, as 'cloud storage' - but these can be costly additions in some circumstances. Whereas if you know that your main concern is large storage that offers redundancy, you should be able to tick that box fairly simply. Once again, research is essential before taking the plunge!


How much Storage do I need?
This is a very definitely a 'how long is a piece of string' kind of question! Everybody's needs will be different but i applied some simple maths whilst working out what I would need. I looked at what I had shot over the past few years and noticed that with an increase in client work, my storage needs were growing roughly 20% a year. I was also shooting more video, which is very 'space hungry' and new that I aimed to grow this by around 20% a year as well. Then, I simply totted up what I was already using and added the required additional storage for the next three years, taking into account the expected rate of growth.
This gave me a figure of around 10 Terabytes, so with a degree of 'flexibility' built in, I knew that 12 Terabytes of storage should be sufficient. A couple of things to consider here are how much do you expect your requirements to grow (it will more than likely be different to mine!) and how many years do you want to protect yourself for? I know that every couple of years, I tend to upgrade my storage anyway, so building in three years of protection should see me right! Finally, you need to consider what RAID set up you are going for? No idea what RAID is? Read on...


Choosing the right RAID set up...
Now, this is where the fun really begins! At first, RAID, which stands for 'Redundant Array of Independent Disks' sounds like something straight out of a Sci-Fy film, and in a way, it is! It's a brilliant piece of technology but one that can seem quite daunting at first. In essence, choosing the right RAID is just a case of marrying your desired level of 'protection' with your budget. Why the emphasis on 'protection' - because there is a common misconception that RAID is 'Backup' and very simply, it's not. RAID offers certain protections against mechanical failure, so if you have a hard disk fail - the other disks in the RAID array will either be mirroring that data or can re-build it. What it does not protect against is 'human error' so you deleting a crucial file - as the disks sync, it will be deleted in all locations so that file is gone! Worst still, if all of your data is in one place, such as at home, if you a flooded or robbed etc. Say goodbye to your data!
Obviously, this does not mean that RAID is pointless, far from it. It just means that you have to consider your 'whole' data handling plan. Back to the RAID options, there are many different setups but the most common three that you will come across are:
RAID '0' - Disk stripping splits data across multiple disks to improve performance. Files are 'split' so that data transfer speeds are improved. There is no redundancy so if any data is lost, it is not recoverable using conventional methods.
RAID '1' - Disk mirroring - Two disks are used and they are read & written too simultaneously, meaning that if you have a disk failure, you (should) still have one 'good' disk. This means you can simpy install a new disk and copy all of the data across. However, this is very 'storage' heavy, as you are duplicating data and does not offer the same performance increases of RAID '0'.
RAID '5' - Stripping with parity - A very good choice as it common uses three or more disks and takes the stripping performance of RAID '0' and adds the Parity (small pieces of usable information that can recover large pieces of lost information) so you have the redundancy of RAID '1' as data can be used from the good disks to rebuild the bad disk. The obvious disadvantage is having to buy at least one additional disk.
RAID '6' - Very similar to RAID '5' but with additional disks for increased performance and parity. This means that it is possible for two disks to fail and still offer redundancy to rebuild lost data.
There are alternative options and once again, it is advisable to do some research before choosing what works best for you. I personally chose RAID '1' as my main concern is disk failure. However, as we will look at later, this is not considered a 'backup' and requires you to do some further steps to fully protect your data.
Setting up a NAS for the first time!
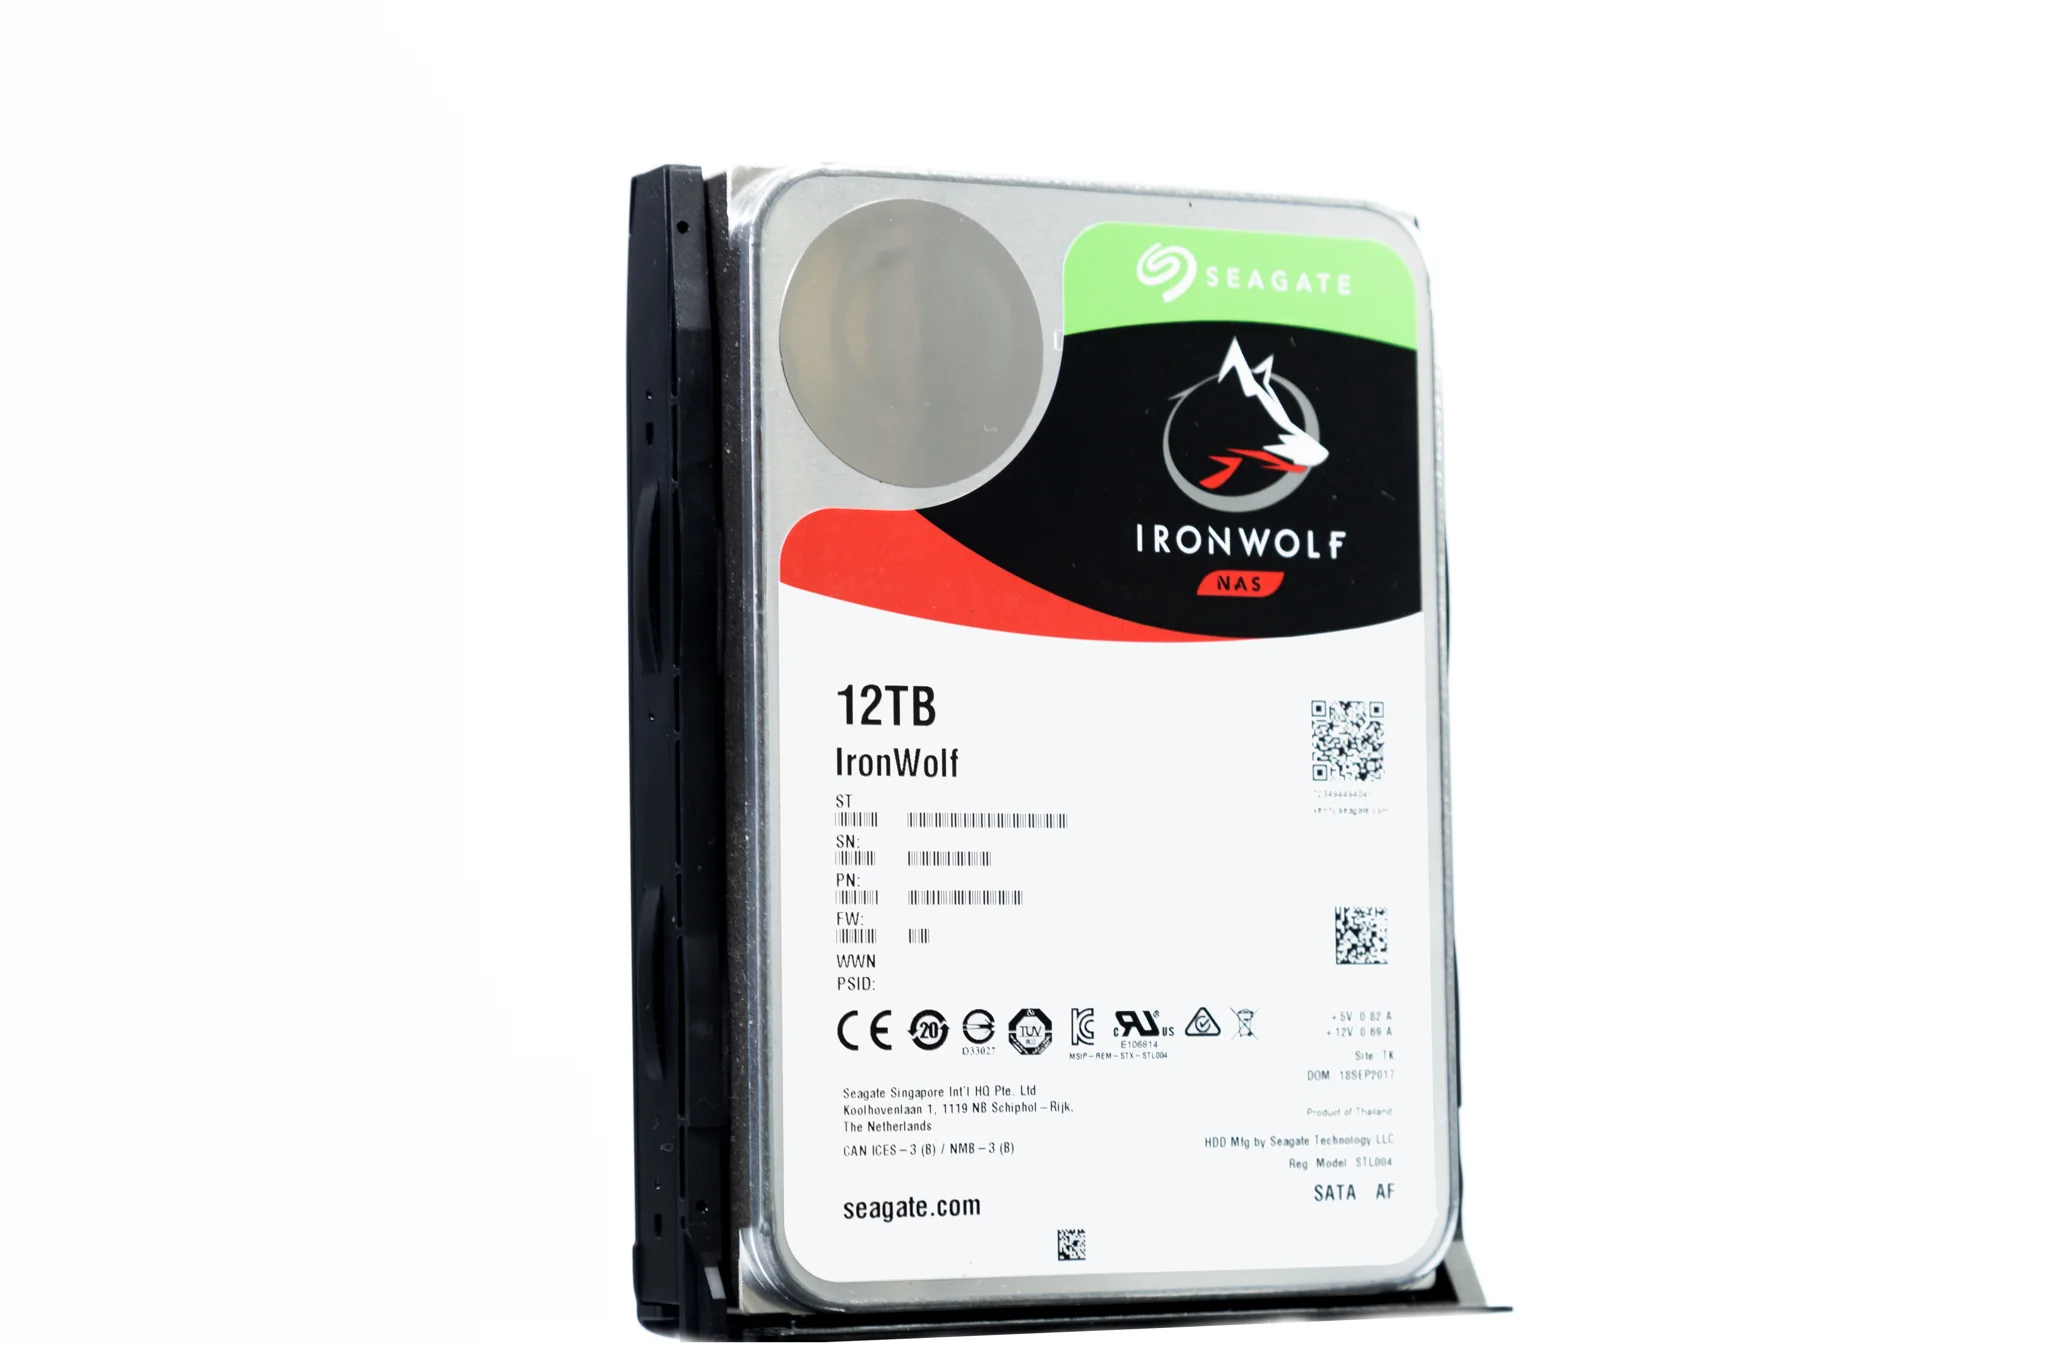
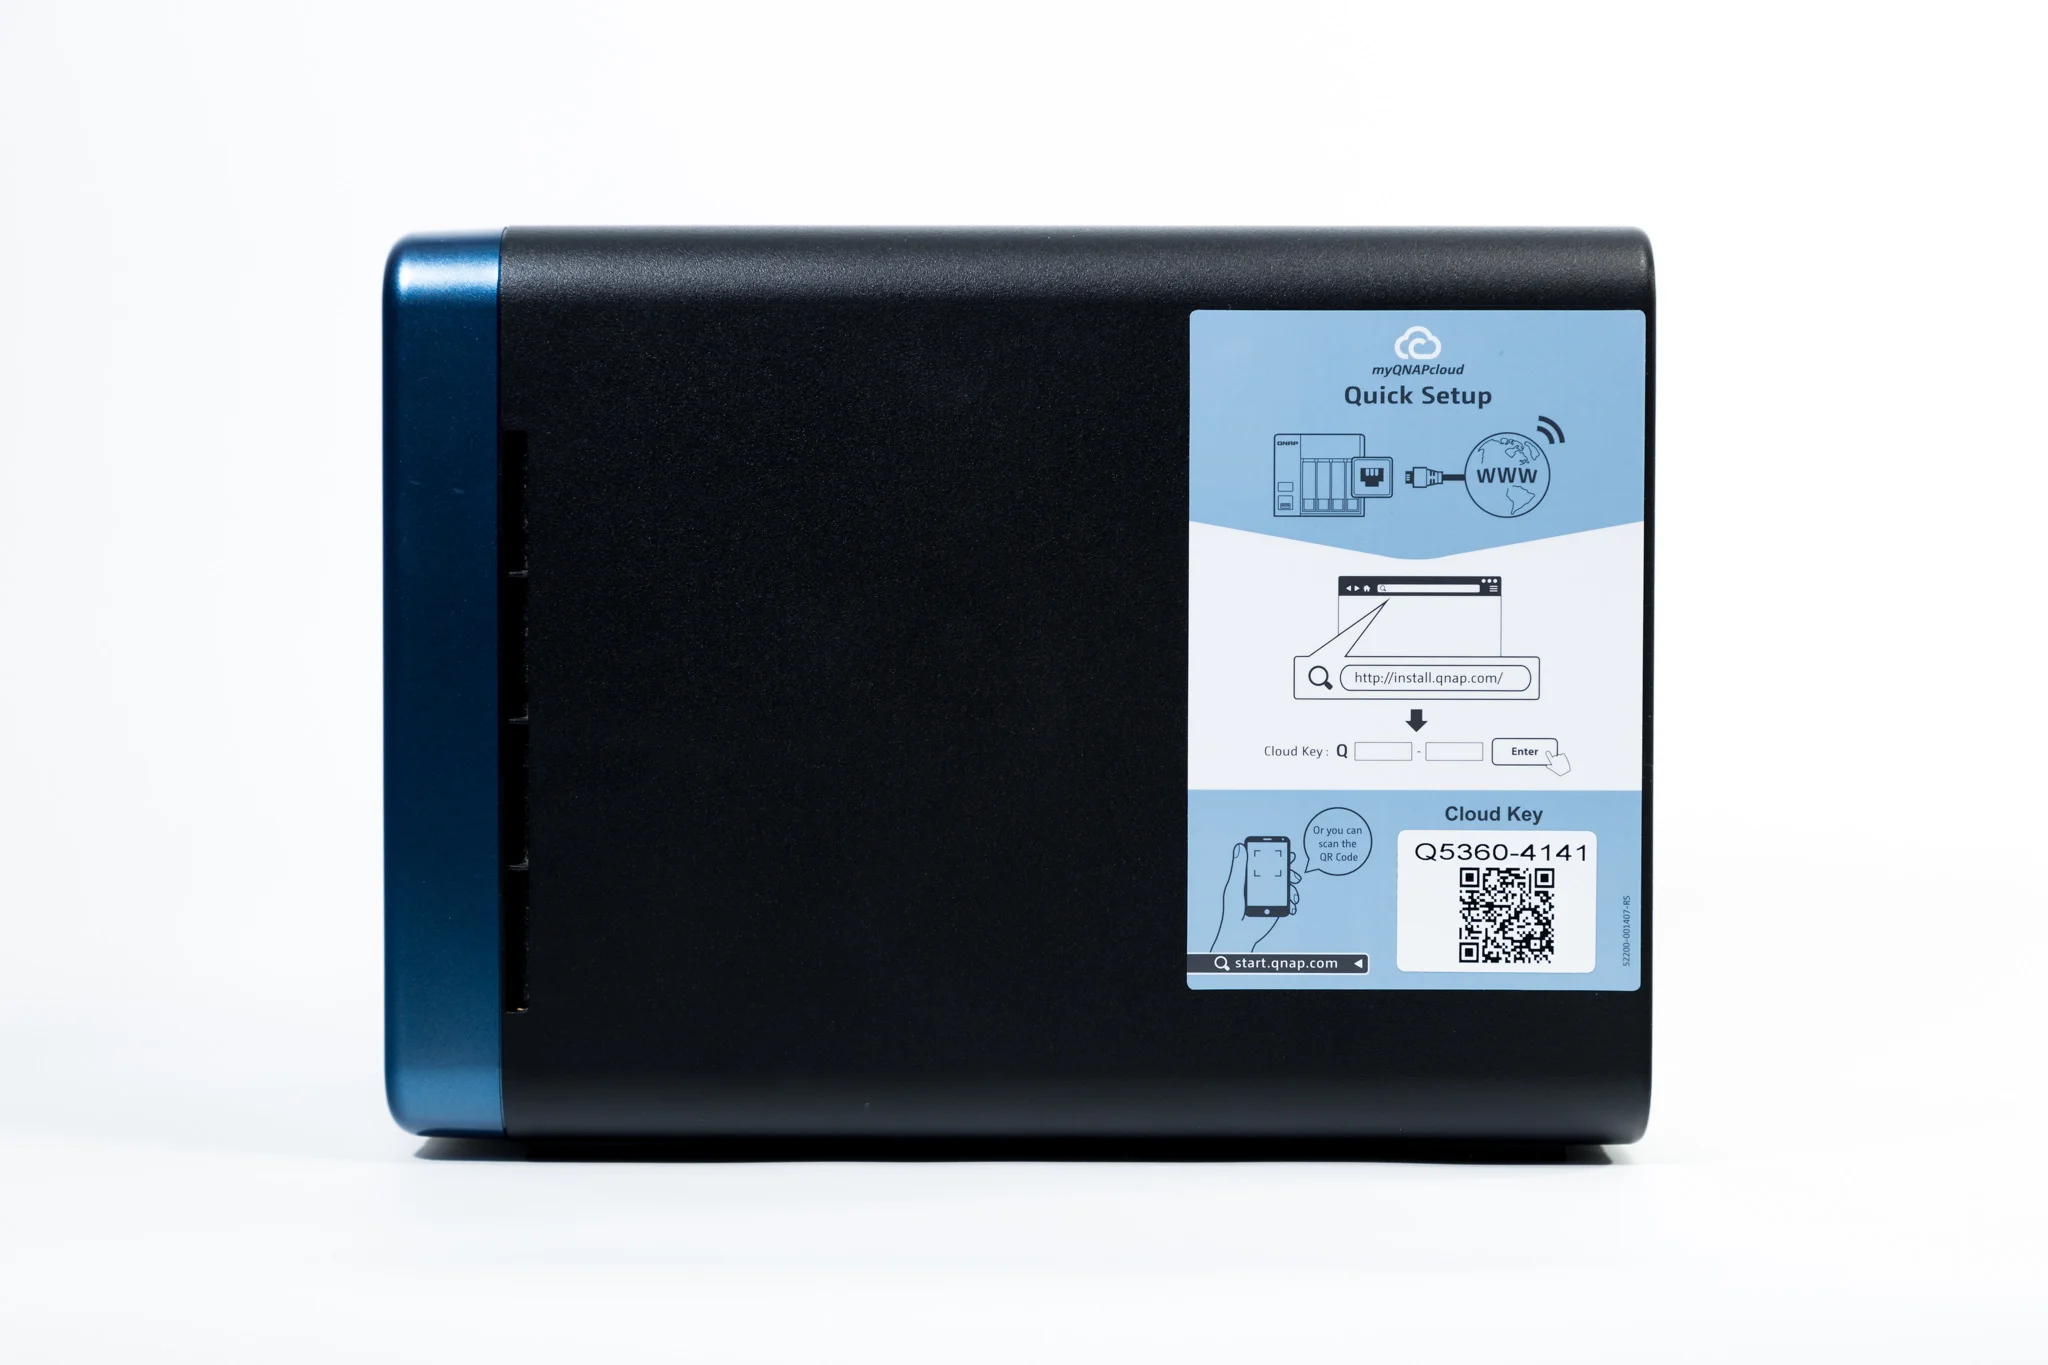
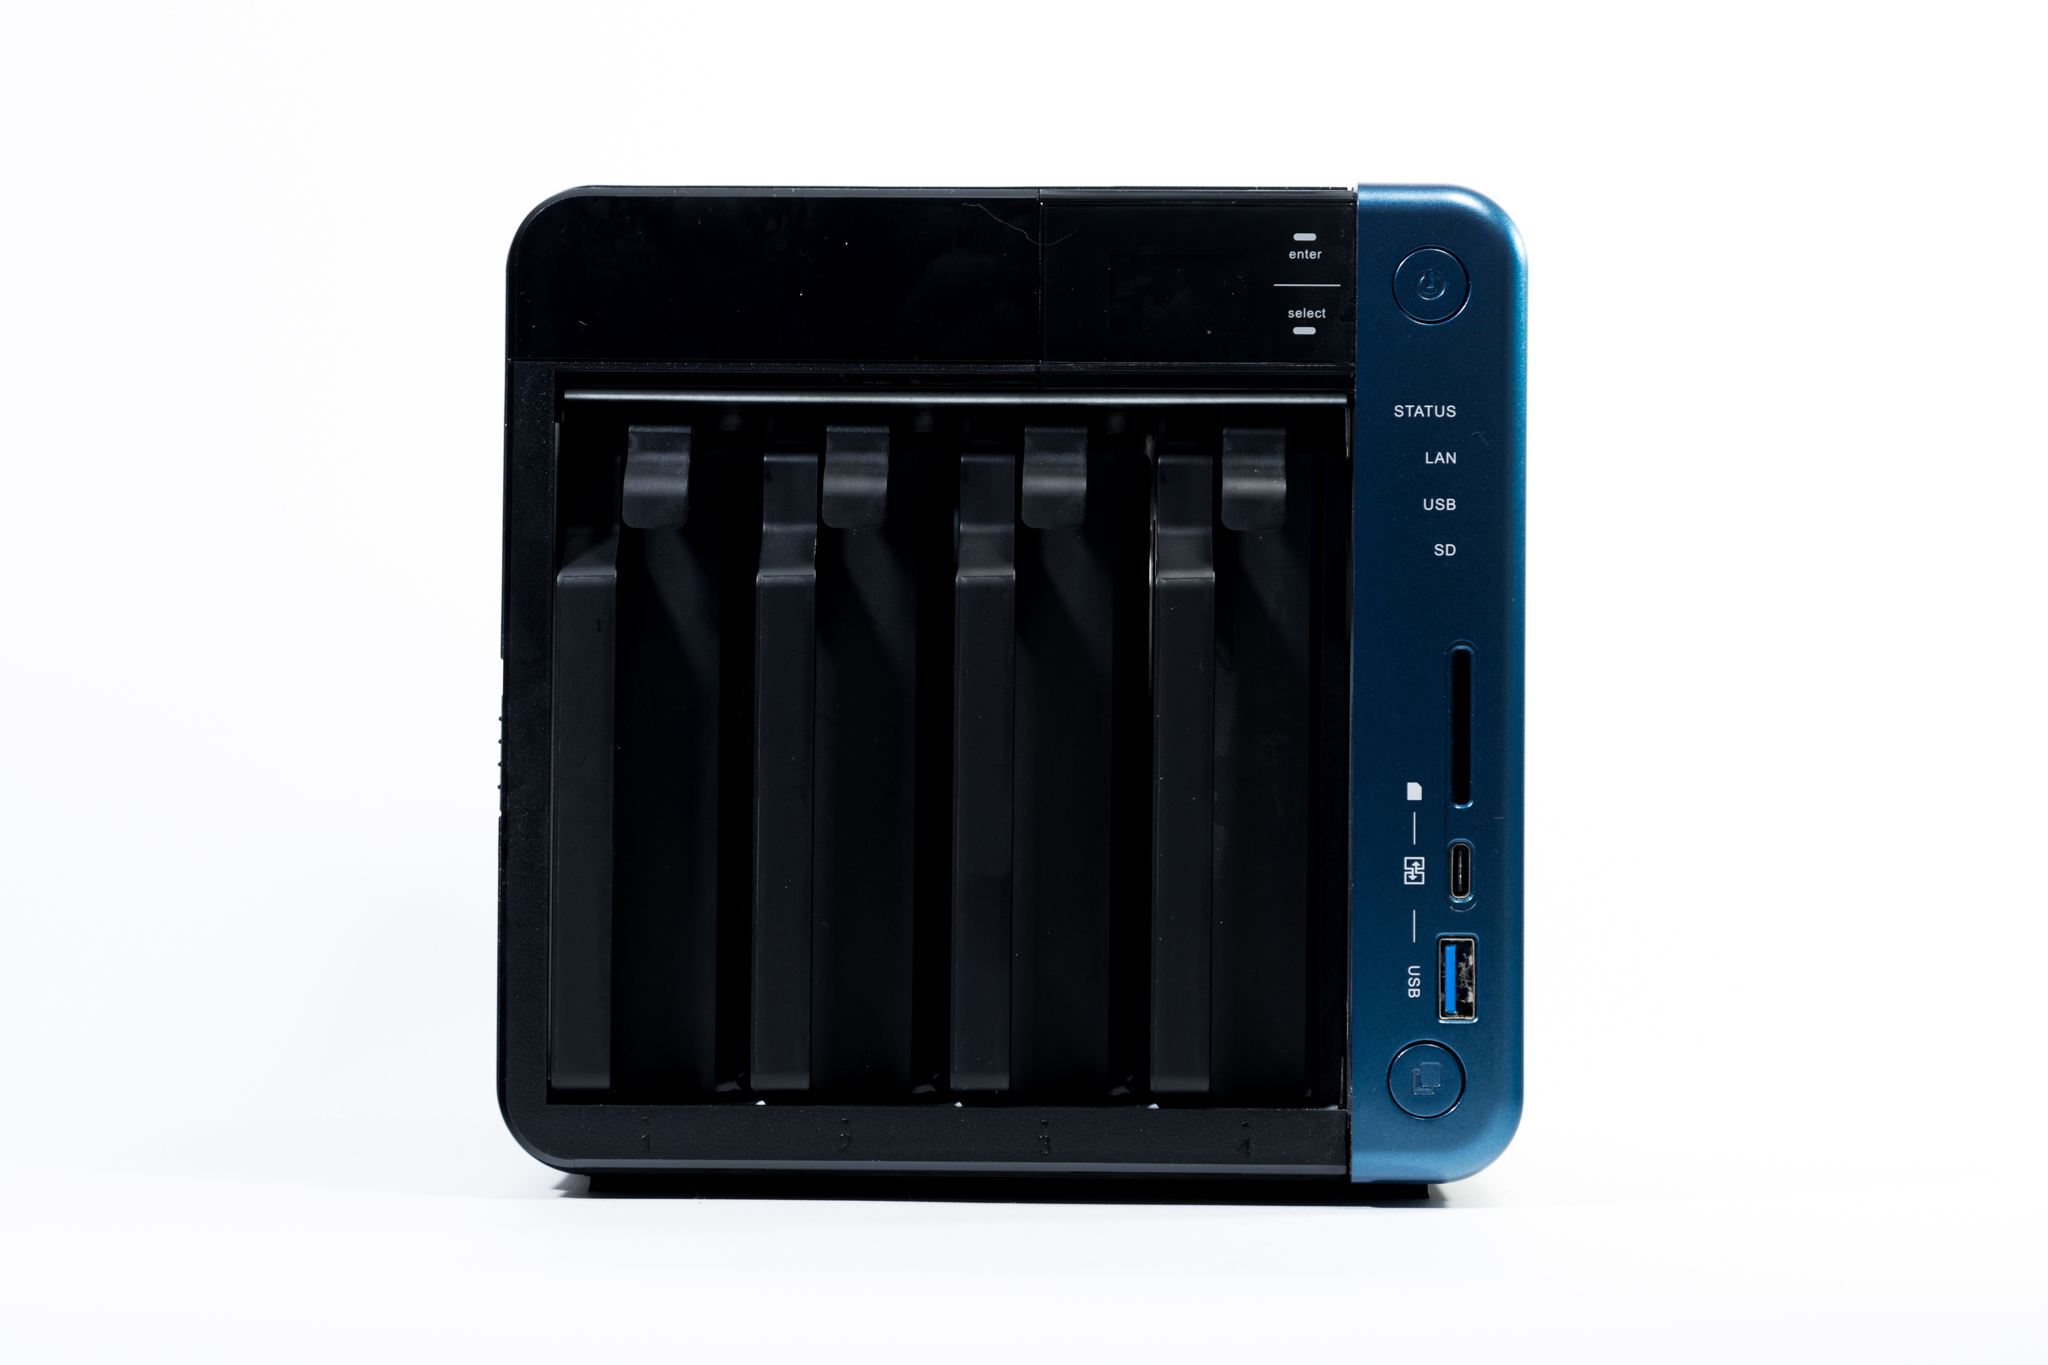
You've chosen what you want, you've hit the 'buy now' button and a few days later, the Postie drops off your shiny new toy to your house, what now? Well setting up a NAS can seem like a very daunting process, but in actual fact, it is quite simple, or at least, my experience was. I would be using the QNAP TS-453B and Seagate Ironwolf drives. Installation was simple and the whole setup process was both quicker and simplerthan I had imagined, you can see it here:
Using a NAS over time
So now to the juicy stuff, how have I actually found using a NAS? Well, in short, very good! I have been very fortunate not being in a position where I have had a disk fail and I put this down, in some part, to the quality of the Seagate Irownolf drives, they really are beasts! However, knowing that I have an additional layer of protection against drive failure really does offer a great piece of mind.
I had to alter my workflow slightly, as previously I had been moving data onto external hard drives and praying that they did not fail! The NAS takes away some of that concern, but as previously stated, it can not be classed as fully 'backed-up' until the data is in at least three places, including 'off-site'. So this has meant that I need to religiously save my most important data to an offsite location such as DropBox, Google Drive or an external drive kept somewhere else - and I still haven't quite cracked this one! As always, 'life' gets in the way and before you know it, you've gone a couple of months without making sure your data is protected against fire, theft, flooding etc.
However, all this aside, as a professional photographer & videographer, I really don't know how I ever lived without a NAS before. The features on the QNAP TS-435B are immense, the fact that you can create multiple accounts for different users, use it as 'cloud storage' for when you are away from home, use share links for accessing data for clients etc. Furthermore, it has Photo Station which makes storing images incredibly simple - show how versatile the system can be and this is before you even touch on the media centre features and the host of other capabilities that NAS's can offer.
Using the QNAP has proven to be a piece of cake. Once the initial setup was completed, managing my data became second nature. I only really use it as a mass storage option, even though it has many other features. Using it like a data vault means that I can move files from my Mac & PC to the NAS where the QNAP quickly & quietly takes care of the dirty work of duplicating the data across the two disks. Accessing files is quick and simple and there are a host of ways of doing so, whether you are at home, in the office or travelling. my most common approach is to use the intuitive files structure to access my 'archived' files, should someone order a print etc.

Final Thoughts
In short, I would class a good NAS setup and a well thought out data workflow as essential as the camera and lenses you use. Our responsibility as photographers does not end with capturing and editing the image. Whether you are a professional or an amateur, being able to protect your data and being able to understand where it is, how it is protected and how it will be stored for years to come is essential. The QNAP really is a 'do it all' kind of tool and when teamed up with high-quality disks such as the Ironwolf NAS rated disks, it allows me the piece-of-mind to be able to concentrate on the important stuff of planning shoots and delivering to clients, rather than worrying about the next drive disaster and what I would do if I lost it all!
For more information on the specifics products, please visit:
QNAP - Click HERE
Seagate - Click HERE
The Importance of Protecting your data - My Data Management Plan

I have spoken a lot recently about NAS & RAID and allsorts of other technical stuff to do with data storage, but what does it all mean and what is the point? Hopefully, this blog post will help explain why it is important to protect your data and a look at the best ways to do it.
Imagine losing everything…
For many of us Photographers & Videographers, our data is our most important asset, arguably even more important than our camera gear. I still sell prints of images I took four or five years ago so the idea of losing my files fills me with a crippling sense of anxiety. However, it’s not just as simple as losing a few photos or a Lightroom catalog. I have invoices, agreements, personal projects and many other important documents that, if they were to simply disappear, would grind my business to a halt. Yet the vast majority of us only ever decided to protect our data ‘after’ we have had a major catastrophe, so now is the time to get proactive!
What are the options?
Before we delve too deep into some of the methods available, it’s worth taking a step back and looking at the bigger picture. Most of us either work from home or an office but in almost all circumstances, we leave our precious data in one place. I, for instance, work from home and choose not too rent an additional office space as I have everything I need in a dedicated ‘office’ (spare room) at home. However, here is the first issue. All of my data is in one place. If I was to be burgled, flooded or if there were a fire, my data (hard drives) would literally go up in smoke, removing any possibility of recovering them.
With this in mind, it is important that we remember that many of the options that we will look at are not failsafes, they are not legitimate ‘back ups’ of your data. Only when the data is being stored in multiple safe locations (off site away from your home/office) and backed up on a regular basis can it be considered safe. To be honest, even then there are still risks involved.
Cloud Storage
If ‘offsite’ backup is a must, then it would be easy to think that cloud storage is a bit of a no-brainer. Though it certainly has an element safety, knowing that your data is ‘in the cloud’ and not vulnerable to such earthly things as fire and theft, the truth is, it’s not 100% safe. In a world of cyber crime, even large organisations such as the NHS have surcome to data being held at ransom.
The other downside to cloud storage is that most commonly, space is at a premium with even the more generous service only offering around 1tb of storage and there can be restrictions on the file types that can be stored. The other major issue is that depending on your internet connection, it can be painfully slow saving and accessing your data and if, like me, you have multiple terabytes of data, you’ve pretty much had it.
NAS & RAID
He we go with the technical stuff again. I will attempt to describe these in as basic terms of possible. One of the main threats that we have to our data is the chance of a mechanical error and losing a hard drive to a technical fault. Although there are services out there that can attempt to recover lost data, there is no guarantee. So a clever option is Network Attached Storage or NAS for short. NAS is a centralised storage device that can allow multiple users to access data view a network (or LAN). NAS’s are commonly made up of one or more hard drives which are referred to as a ‘Redundant Array of Independent Disks’ or RAID for short.
The purpose of RAID is to protect against loss of data by spreading or mirroring that data across multiple disks. We will look at a few common RAID options in a future post but see it as a carbon copier for your data. If you lose one disk, the other disks will have your precious data saved, ready to be restored to a new disk. However, the major downside of this is that although it protects against mechanical loss of data, it is still only stored in one place - so we still have the risk of fire/flood/theft etc.
The Blended Option.
I’m hoping I may have coined the phrase but a great solution for protecting against loss of data is to ‘blend’ all of the options available to you. So in essence, you would have a NAS setup in your home or office, where multiple users could access and store data. The NAS would have an appropriate RAID setup to protect against mechanical loss. The most important data would then be copied to a cloud service that automatically updates on a regular basis, to add in an additional layer of protection.
Taking things one step further, for those that are looking for the ultimate in protection, it would be possible to have another RAIDed NAS system kept off site (maybe at a friends home or office) that ‘backs up’ data so if there were a fire in one location - all data should be saved somewhere else. Now, this would be an extremely costly measure and a simpler option may be to simply rotate a group of hard drives and once a month - mirror the backup disks with your working disks and then store them off site. It’s worth noting at this point though that even by going to these extremes, there are still other potential risks such as file corruption, so before investing it really is advisable to do as much research as possible, to find the best option for you.
My Data Management Workflow
I’m not an expert, I just know what works for me, but you may find something useful in the way I manage data. Seeing as the majority of my ‘data’ are image or video files, the first thing I do is make sure I have plenty of fast CF/SD cards and if I’m shooting really important work, I will write to two cards at once, you know, just in case.
When I get the data home, I make sure that I import the RAW files to Lightroom immediately. Before I go out on a new shoot, I always format the memory card in the camera, by importing the images immediately to Lightroom, I ensure that I won’t ‘accidentally’ delete all the files from a previous shoot. I then save the images into a ‘working’ folder structure on either my MacBook or PC. By doing this, I am using the internal hard drive of the computer (both MacBook and PC have SSD drives for improved performance) for editing, as trying to edit direct from the NAS is possible, but not as efficient as using the internal SSD.
Once the edits are complete, I export the completed images to a DropBox folder as medium res Jpeg files and for images I know that I will print, I export the Tiff/PSD files to a ‘print’ folder. At this point, I have a copy of the file on my working hard drive and an output file in DropBox. The next step is moving the working folder in Lightroom from my internal SSD to the NAS. Lightroom does an excellent job of folder management, meaning I don’t need to go into Finder/My Computer and start copy & pasting folders to move them. I have the NAS set up as an ‘Archive’ folder in Lightroom and can simply move the project I am working on from the SSD to the Archive by dragging & dropping.
Once the data is on the NAS, I am using a RAID 1 setup which mirrors the data from one disk to another meaning that if a disk fails - I can still recover from the working disk. The final step (and the most crucial in terms of protecting against fire/theft etc) is taking a regular copy of the most important projects and leaving them on an encrypted external Hard drive, with a friend, so they are stored off site. Now this final step is not the best method as it does not protect all data and there are other inherent risks (losing the disk in transport, finding someone you trust enough etc!) but it is better than nothing!
All of this may seem a little bit excessive but when faced with the prospect of losing years worth of valuable data, it suddenly becomes quite appealing. The truth is, once it’s set up, it’s actually remarkably easy to manage and the biggest difficult is forming the new habits to make sure you are treating your data with the respect it deserves. I would certainly suggest looking at a NAS setup at a minimum but also consider how you can store your data in multiple locations. I’m pretty certain that this won’t be the end of my data management journey but for now, I feel a lot happier knowing that my data is in safe hands.
Introduction to NAS & The QNAP TS-453-B

All Photographers and videographers should be taking how and where they store their data very seriously! By now, you will probably have heard of Network Attached Storage or NAS for short. In this video I will give you a quick introduction to NAS and an unboxing and look at the features of the QNAP TS-453 B - a high quality and feature rich unit which on this occasion had been filled with the Seagate Ironwolf drives.
Very soon I will be doing a video series of videos on RAID, Storage and workflow but for now, take a look around the QNAP in the video below:
Photographing Birmingham - Architecture & Street Workshop

Well, it seems like I've been away forever. The truth is, I've been really unwell for about a month and have been catching up on work. The good news is, I have loads of exciting events coming up and can't wait to start sharing them with you!
One event that I can share with you is an exciting collaboration with the amazing folk at Brumpic & The Culture Card. On June 9th, we will be hosting a very special 'Photographing Birmingham' workshop. The day is aimed at anybody looking to develop their photography skills and is open to all skill levels. Even those who have never really picked up a camera will gain a great deal from the day including learning about the main features of a camera, the 'rules' of photography and a special opportunity to learn how I edit my images.
The structure of the day will be as follows:
9.00-9.15 Meet (Coffin Works)
9.15-9.30 Ice breaker - what is everybody’s skill level? - This is an ideal opportunity to share your current skill level and what you would like to learn.
9.30-10.00 Talk by me - who I am and what I do - A brief introduction to who I am, my photography journey and how I went about learning about photography.
10.00-11.00 Understanding the basics - camera controls & composition etc. - Here we will get into the details of using a camera. It will include an overview of how a camera works, the main functions, an understanding of using auto features and then a discussion about manual features.
11.00-11.30 Shooting the city - what to look for & how to get the shot - As it says, this is where we will delve deeper into the theory and look at 'what' to look for when shooting 'street & architecture'.
11.30-1.00 Practical - go out and shoot - The exciting part, we will go out and explore a designated route and all attendees will have an opportunity to ask questions and seek guidance as we explore the city.
1.00-2.00 Lunch and discussion* - We will take the opportunity to have a break, eat lunch (provided) and have a discussion on what we have done so far.
2.00-3.00 Practical - more shooting - The exciting part, part 2! In this session, attendees will have more opportunity to shoot the streets with slightly more free reign, and we will discuss what type of photography you want to focus on and look at some useful techniques to take away.
3.00-4.00 Back to ‘base’ and a guided edit - At this point, we will head back to the Coffin Works for refreshments and a chance to walk through some guided edits. This is a unique opportunity to see how I edit my images and look at how I use Lightroom and Photoshop, as well as ask questions about my techniques.
4.00-4.30 Q&A and close - We will close with an opportunity to ask questions about all the things we have learnt and much more. Whether you want to know about the business of photography or simply how to sell your first prints, take the chance to glean some 'insider' knowledge.
The cost of the day is £80 to Culture Card holders and £100 to everybody else. Whereas this sounds expensive at first, this is actually a rare opportunity to spend a whole day learning about photography, getting useful tips on editing and to learn more about how you can improve your own photography.
For more details or to book your place, please visit - EventBrite
If you have any questions, feel free to get in touch.
Thanks to - Brumpic / Culture Card / Coffin Works
From Boring to Beautiful - Basic Photo Edit

Making your photos look more professional and interesting can be a challenge, in particular when it seems like some kind of photographers secret! I'm not one of those photographers who refuse to share tips and tricks and help others progress. So for anyone interested in how I edit my photos (and it's probably not how you'd think!) here is a little video showing my 'basic' edit. If you are interested in more tutorials, please subscribe to my channel as there are plenty more to come!
National Freelancers Day
National Freelancers Day

I recently teamed up with accounting software company QuickBooks to share my tips for National Freelancers Day on 8th June. QuickBooks have provided their range of accounting software to small businesses and self-employed people for a number of years. QuickBooks will be sharing a host of tips and interesting insights into the life of freelancers via their Resources Page - Why not claim your free thirty day trial of QuickBooks Software - HERE - Below are a few of my tips, why not share yours in the comments below.
Ross Jukes Photography – National Freelancers Day
Ross Jukes is a freelance photographer based in Birmingham. Ross has been self employed for several years and has worked with large multi-nationals such as HSBC through to small independent retailers in his home city. Ross shoots Landscape and Automotive work and carries out all aspects of running his business, from the day-to-day client work through to the Marketing, Invoicing and admin of running a business.

Tip 1) Get Creative
This is probably an obvious one coming from somebody that works in a creative field but I always try to get creative with all aspects of my business. In particular, I try to think of creative ways to market myself. Thankfully, I produce a very visual product so it is easy to think of ways to distribute imagery, but I’m also not afraid to try a few ‘old classics’ such as giveaways and competitions.
Tip 2) Think Ahead
I, like many other freelancers, always have to keep one eye on the future. I always like to keep an ‘emergency fund’ just in case things go bad or a piece of equipment breaks and needs replacing at short notice. However, ore importantly it means that you generally don’t get any nasty surprises. This is particularly true when completing Tax Returns, it always pays to have an idea of what will hit you at the end of the year so you can start saving in advance. If possible, just deduct the estimate Tax after an invoice has been paid and leave it in a separate account!
Tip 3) Get Organised
I am a really busy person and lots of clients need everything done immediately so it’s really easy to get distracted and let things slip. Therefore, it’s crucial that I stay organised. A few ways I do this is keeping on top of my calendar, generally using the Google Calendar app which is really easy to use. I also keep a Whiteboard with current and upcoming projects. I also make sure that I keep my desk space tidy and regular clean and maintain gear, including making sure everything is charged and ready to go before each job.
Tip 4) Have Fun
I am very fortunate to get paid doing something I love. So most of the time it is great, but there are still the times that everything gets a little bit crazy and you feel like the pressure is getting a little bit too much. It’s times like this that I make a conscious effort to go and and shoot for myself, just take a long walk and grab some photos or maybe plan a trip to the countryside. It may sound counter-productive to take some time to yourself but it really helps clear your head and make sure that you are still enjoying things!
Why not claim your free thirty day trial of QuickBooks Software - HERE
The Three Ingredients of Success...

Photography is a very difficult industry to get into, I should know, I have spent the last three years trying to do just that! Along the way, I have learned a few things that I believe are the keys to being 'successful' and these are applicable to just about anyone in any industry... Here are a few of my thoughts...
First though, a little context. I spent pretty much the vast majority of my adult life (and childhood for that matter) trying to work out 'what I want to do with my life'. I always find this concept baffling as at 16, who knows what career they want to do for the next 50+ years? I certainly didn't, so I found myself bouncing from college, to Uni and on to job after job. It was only when a friend asked me to take some pictures of his car that I found something that genuinely interested me.
The old saying goes "You don't find photography, it finds you" and that was certainly true for me. My passion for photography grew with each new shoot and experience, Then one day, whilst listing to countless motivational podcasts on the soul-destroying commute to work, I heard the words "If money wasn't a problem, what would you do with the rest of your life?" My answer? Photography... A fire was lit...

Hard Work
It will come as no shock that the first ingredient to success is probably the most obvious. Anything in life worth pursuing generally requires a lot of hard work. For me, this involved countless hours of practicing, learning new skills and teaching myself the rules of photography. I don't believe you ever stop learning but Malcolm Gladwell's theory that "to become an expert at anything requires 10,000 hours of practice" probably isn't far from the truth.
Whatever your chosen career, hobby or outcome that you are trying to achieve, hard work will almost always be required at some point. Understanding that doing the 'work' is part of the journey to where you want to be is the first step. Realising that the only thing between you and your goals is 'work' will change your thought process. Work is the journey, so you may as well get stuck in and get yourself on the journey as soon as possible!
There is no doubt that to be successful requires hard work, but hard work alone is not a guarantee for success. There are a couple of other things that are required.

Commitment
The second ingredient is commitment. Again, this may sound blindingly obvious, but a lack of commitment is one of the biggest reasons that people fail at anything. To use another photography based example, I am constantly asked 'how do you get those lovely sunrise shots' (no seriously, I am asked this all of the time!)... The answer, predictably, is because I am out there at 5.00am in the Summer or in freezing conditions in the Winter to make sure that I am there, ready to take the shot when all of the elements fall into place.
There are always hurdles, the two biggest hurdles I have faced in my life is losing my parents. I was incredibly fortunate that my photography helped me get through the loss of my Mom. It would have been easy to stop, blame the world and say how unfair life is. Whereas in part, it is true, life is unfair, stopping because something hasn't gone your way is not an option if you ever want to be truly successful. There is always something waiting just around the corner to screw you up, being resilient and committed to seeing it through to an end is crucial.
One often overlooked part of commitment is breaking your goals down to manageable tasks. The reason people give up or have a lack of commitment is because the tasks and goals they set for themselves are simply too big and overwhelming. Breaking them down into smaller items makes them far more achievable and for that matter, enjoyable. I personally keep weekly task lists and checking items off is one of the most enjoyable parts of my week. Knowing that you are edging closer to your overall goal really works wonders for keeping you motivated.

And finally... Patience
I genuinely believe that this is the single most underrated key to success is quite simply, patience. Too many people are intent on becoming an 'overnight success'. The internet, social media, ridiculous programmes such as The X-factor have convinced us all that we only need one big opportunity to realise our dreams. I'm sorry, but the world does not work like that.
For anyone that you think of as an 'overnight success' I will guarantee that they have been doing their thing for years before anyone noticed. One of my heroes is David Beckham and he always recounts the thousands of hours he spent as a kid, kicking a ball against a wall to 'practice' his free-kicks. He didn't simply walk up to the England team, say 'give us a go mate' and just happen to become one of the greatest English footballers of all time.
You may not turn a profit in the first year or two, get the promotion you are after in the first week of work or become the greatest footballer the world has ever seen! However, as long as you are working hard, committed and patient, you are far more likely to be successful in the long-run. Good luck!
Have you got an 'ingredient' that you think i've missed? Share it the comments below!
Finding out you're not that good after all...
I love to try new things and when it comes to photography, I am happy to go out and shoot 'whatever'. So when I saw that IgersBirmingham had teamed up with Street Photography legend Kris Askey to do a talk/walk around Birmingham, I was all over it.

For those that may not know, Street Photography is the art (and it is an art!) of capturing unique scenes in everyday life, sometimes humorous, sometimes emotional but generally, it's documenting what is happening all around us everyday. Street Photography, when done right, is amazingly captivating and gives us a real insight into 'those little moments' that are there for a split second and then gone.


Kris is an expert at capturing them and it goes without saying that you should go and check his work out. He has pretty much single-handedly started a bit of a movement of street work within our city and a quick flick through Instagram shows that there are plenty of people out there trying their hand at what, on paper, should be straight forward enough.
On the day of the meet, I was pretty excited to get out and give it a go. Having done little bits here and there, I knew it could be challenging but after a very compelling half-hour talk by Kris about his journey into Street Photography and some very useful tips on achieving great results, I was pretty certain that I was going to very quickly become the greatest Street Photographer that ever lived, ever.
Armed with my trusty, partially broken Ricoh GR, I set to the streets and started firing at anything that moved, people on bikes 'click', people in coffee shops, 'click', old women 'click', homeless guys 'click click click'... I stopped and looked back through my shots and something wasn't right, they looked nothing like Kris' or any of the other Street Photographers I had seen, they were, well rubbish.


I quickly deleted all my shots, changed some settings and went in for round 2! Several 'clicks' later and I dared to view the images again, they were somehow worse! I felt more miserable than the weather, which I had convinced myself was ruining my shots, so I went into New Street Station in the hope of getting some gold! Click, click, click... Utter rubbish, it was clearly my camera's fault!
By now, it was time to head back to our meeting point where there would be a 'live edit' of a couple of the photos that people had shot. I sheepishly walked in and slipped my camera away and slumped into my chair as Kris asked if anyone would share their pictures... Street Photography was more difficult than I thought, this was more than just an 'off day', it was a big punch right in the ego!

I'm a little embarrassed to post my pictures as, quite frankly, they're terrible. However, this is the thing, you don't just wake up one day and become the world's best dot dot dot... To be good at anything takes time, effort and commitment. I also think some people are a little too quick to try and apply some deep & meaningful context to a shot that, realistically has none... My point? Some things are harder than they seem and you can't be good at everything, so either be honest and say it's not for you or get out there and practice!
Kris Askey - krisaskey.com/ | IgersBirmingham - igersbirmingham.co.uk/
Camera or iPhone? It's all just Apples and Oranges...
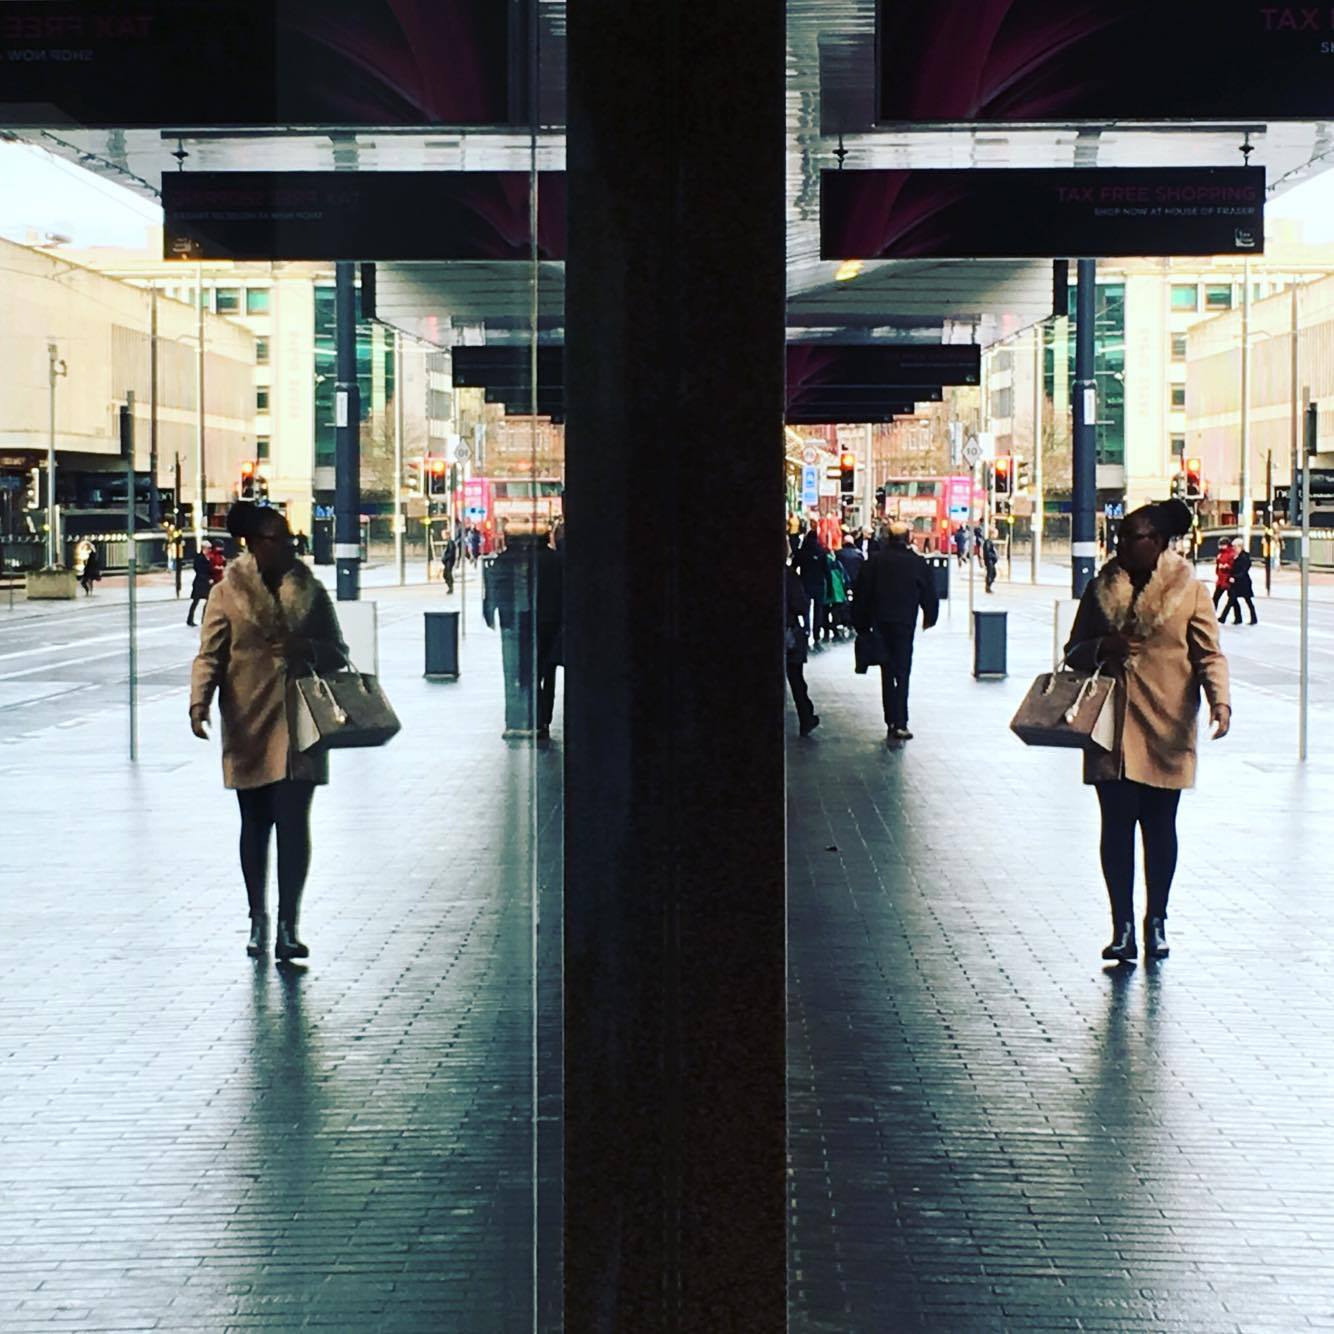
You've probably noticed by now that I'm a fairly active member of Birmingham's photographic community. However, this isn't so that I can turn up and talk about myself! I genuinely use every meet up as an excuse to try something new and see if I can actually learn something. So when the wonderfully talented Kris Askey announced that he was partnering with Apple to do a photo-walk around Birmingham, I was definitely in!

The focus of the day was to capture 'Ordinary Life' in Birmingham and with Kris leading the way, that is exactly what we tried to do. After meeting at Apple's very impressive store on New Street, Kris shared some fantastic tips and advice before hitting the streets. Being an Apple event, the focus was on shooting with iPhones and being a 6s owner, I had no excuse not to!
The weather had brightened up outside and we made our way along Corporation Street, trying to capture the ordinary. Shooting with a phone instantly set me a few challenges, not least of all was trying to look discreet! Holding a phone at head height and virtually chasing old ladies down the street was never a good approach, so I tried a little sneaky shooting instead.


The next biggest challenge was 'seeing' a shot. I love 'people watching' and this is effectively what we were doing. Kris had shared some great tips on composition and framing techniques and as we all got warmed up, it was clear that he knew what he was talking about as shots slowly started to appear. It's amazing how these little scenes play out each day and we barely even notice, learning how to 'see' them and even anticipate them is definitely a skill!


I found myself missing my zoom lens and as Kris rightly taught us to 'zoom with our feet' - I found that I needed to be more confident in actually getting close enough to people to frame a shot the way that I wanted. Going out of your comfort zone like this is a real challenge but this is where the real 'learning' happens. We made our way around Victoria Square, down to New Street Station and back to the Apple store.


The group then had some time to edit the photos and once again, Kris and the guys from Apple were on hand to share tips and techniques. The group (around 15 of us) took turns to share our images on the big screen and discuss why we shot what we shot. The shots were incredible and also incredibly diverse, yet each one perfectly capturing one of Birmingham's little moments, never to be captured again.

Looking back at the images, I was really impressed with the results achieved by the iPhone. I normally carry a little 'compact camera' on a day-to-day basis but looking at the results achieved by everyone, this almost becomes pointless as the phones can definitely hold their own. Looking at little closer at the final images (100% crop!) I don't think I'll be throwing my DSLR out of the window just yet, but for capturing a quick image, I will definitely be reaching for my phone more often! After all, the best camera is the one you have with you at the time!
You can find out how Kris shot the day HERE and be sure to follow him on his social channels to see more of his brilliant Street and Portrait work and in particular, his upcoming exhibition which will be a must-see!
A Photographic trip to Edgbaston Reservoir
After randomly bumping into Fraser McGee of IgersBirmingham fame, we soon got talking about shooting at this time of year and in particular, how nice it is being out on a cool, crisp morning and the quality of light during the winter months. Before we knew it, plans were forming to head to Edgbaston Reservoir, a spot that we both wanted to shoot to make the most of the late winter sunrise.

Edgbaston Reservoir at Sunrise, Birmingham
Fraser, who had been planning to meet another local photography celebrity, Kris Askey, invited Kris along to join us. This was a great bonus as I personally had always been a fan of Kris’ work so it was great to have him along. 7.45am the next morning, we met and headed for the reservoir. The signs were promising even from the car journey over as the sky was lit with a warm glow from the slowly rising sun.
When we arrived, the ground was frozen solid and particularly slippery under foot. The car park was on the same side of the reservoir that the sun would rise so we needed to make our way around to the opposite side to get the magical 'sunrise and building reflections’ shots that you may have seen before. However, what struck us first was how little water there was in the actual reservoir. It looked about 20ft lower than average and I personally, have no idea why but it did come as a surprise.


After making our way out around the edge of the water, keeping a keen eye on the out trajectory and position of the sun, we started grabbing shots. One of the best tips that I can give you when shooting is always check behind you, as sometimes the best shot is not always in front of you. This was certainly true on this particular morning as I tried to avoid the ‘obvious’ reflections shots and look for something different.
Photography can be a fairly solitary affair and certainly when shooting street or urban landscapes, it is not uncommon to spend hours on your own walking the streets. It made a great change to have other photographers to share ideas with, point out different potential shots and generally just chat with.


Fraser, founder of IgersBirmingham will probably be well known to many of you, but Fraser is also a very talented photographer himself when he’s not busy running Birmingham’s leading Instagram community. Fraser set about composing vertical images to suit his Instagram feed and the results were obviously great. Anyone that has seen his latest images of his honeymoon in New Zealand will appreciate his love for landscape photography and his eye for a pleasing composition.
Kris on the other hand, is more renowned for his portraiture and street photography, so it was a pleasure to have a fresh set of eyes on a popular spot. Kris, when not filming Fraser and I for his ‘Stories’, set about challenging himself to a bit of ‘nature’ photography and instantly got into his rhythm and started firing out great shots. It was great to watch a photographer who is more at home in a different discipline adapt his style and see how he approached a new challenge. I think the results speak for themselves and prove how versatile he is.


We made our way around the reservoir, stopping to capture the long shadows cast by the trees on the edges of the reservoir and even making the time to grab the occasional cheeky shot of each other – it is funny watching the positions and poses that photographers get into when they are fully immersed in ‘getting the shot’.
As we came to the end of our walk, the absurdly low water levels made it possible to grab some shots that would never normally be possible. We made our way back to the car and packed away our gear. It was great to have a little company on what would otherwise be a focused yes solitary walk. It was great to share ideas on composition, editing styles and also talk about workflow and storage in general.


I would strongly suggest finding local companions that you feel comfortable going out and shooting with and like in Kris’ case, share the opportunity to go and try your hand at different genres of photography that you may normally overlook. One way to do this is to be part of an active community such as IgersBirmingham, who I am happy to call many of it’s members personal friends. It really goes to show that trying something new and the community within photography, in particular in Birmingham, really are the hidden benefits of our chosen pastime.
Frosty morning on the banks of Edgbaston Reservoir, Birmingham
You can find out more about Fraser & Kris at their respective websites.
IgersBirmingham - www.igersbirmingham.co.uk
Kris Askey - www.krisaskey.com