
REVIEW: BenQ SW320 31.5" 4K IPS Monitor
I have been in the market for a new monitor for a little while now as my trusty Dell U2412M just didn’t seem to be up to scratch anymore. For all the calibrations and fiddling with settings, I was tired of printing my work and being disappointed with the results. I knew something was wrong.

So when I was approached by BenQ to review one of their new monitors aimed at Professional Photographers specifically, I jumped at the chance. I will go more into the technical details later, but the headlines are that this is a massive 31.5” monitor throwing out 4k Ultra HD, 10 bit, offering 99% AdobeRGB and 100% sRGB with a resolution of 3840x2160. The monitor comes with an incredibly useful remote for changing preferences and a shading hood and will set you back around £1300 – That’s a lot of money, but don’t be scared off just yet! It’s actually a bit of a bargain!
If you have been looking for a new monitor or if you take your photography (or any kind of creative work) seriously, then at some point you will have looked at the technical spec of monitors, got a headache and vowed never to do it again, or at least that is what I did. It can be baffling when you are trying to decipher your IPS’s from your sRGB’s and a wide colour gamut just sounds painful, so I will try to keep things as basic as possible. This is an impressively spec’d monitor aimed at professionals doing professional work, but as you will see, I actually think this is the best investment any amateur/hobbyist looking to ‘go pro’ could make.
What’s in the (massive) box
I knew as soon as I saw the huge box that the SW320 turned up in that this was going to be a serious piece of kit. On opening the neatly packed packaging, the first thing you find is a reassuring ‘Factory Calibration Report’ – BenQ clearly have nothing to hide! Looking at the ‘E-measurement’ report where anything under 5 is OK, anything under 2 is considered very good and seeing an average way, way below that, really whet my appetite for what this thing could do.


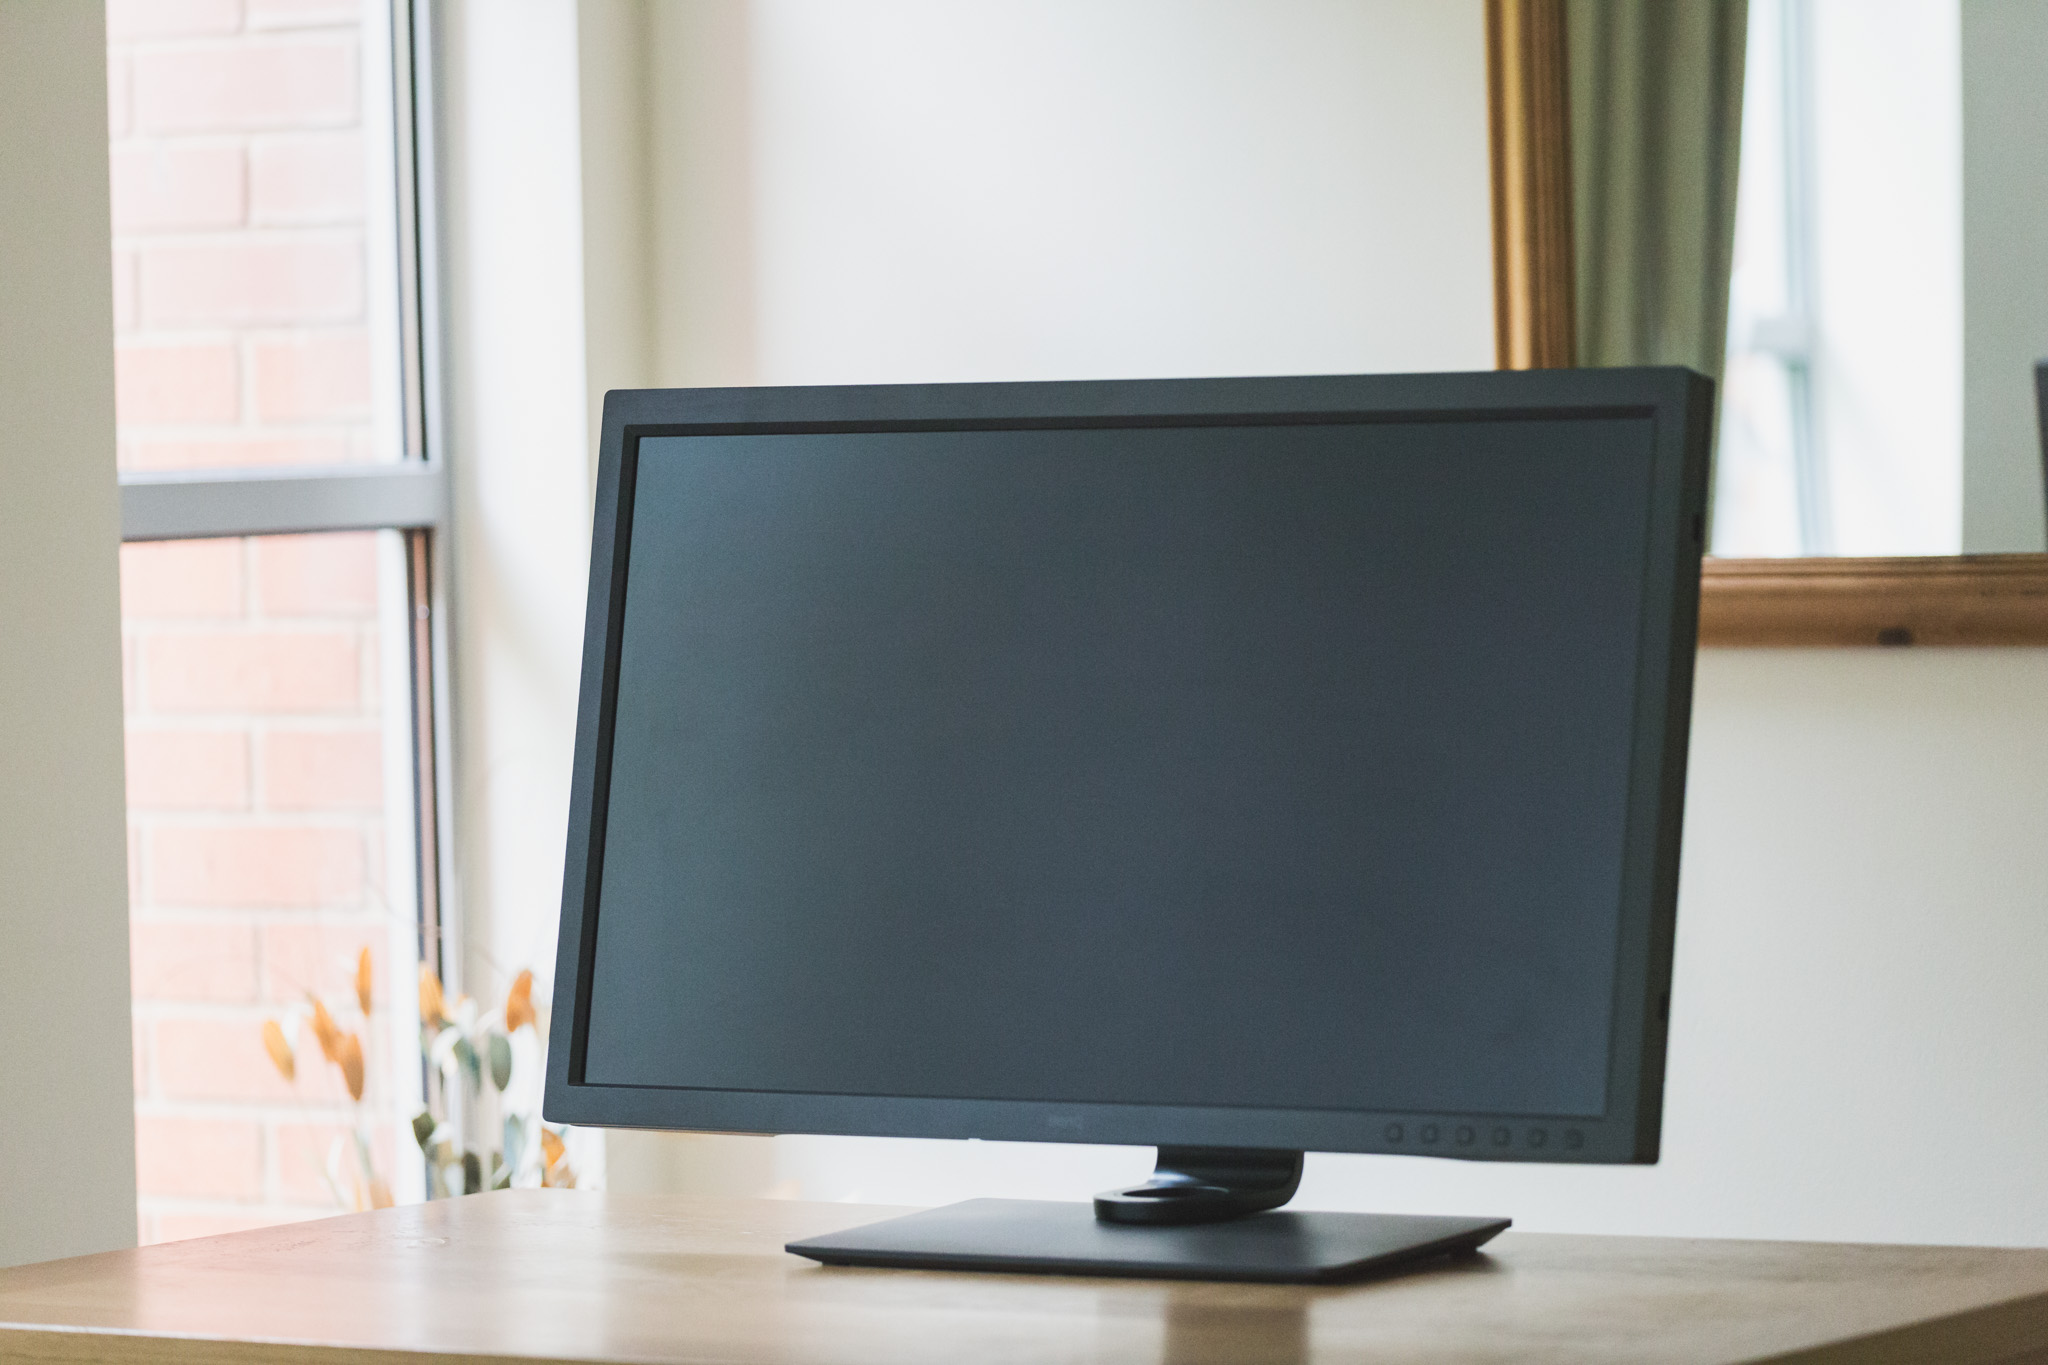
The monitor comes with a simple yet robust articulated stand that clipped together in seconds. At 18.7kg this thing is a bit of a beast, but it is a reassuring weight rather than a bloated feel. The design is simple and to the point, no need for fancy gimmicks here, it is all about the image. However, the real thing that strikes you when first pulling that massive 31.5” screen out of the box is the sheer scale, this thing is huge! If you are using a home office rather than a studio, it is a consideration. Having used it for a few weeks though, you soon get over this and learn that once you’ve had all that screen to use, you couldn’t live without it.
In the box also comes all of the necessary power supply, cabling and manuals that you would expect and BenQ really haven’t left anything to chance, giving you multiple options of linking this baby up to your mac or PC. Connectivity is never going to be an issue and switching between multiple inputs is a treat, but more on that later. The biggest bonus is that the SW320 comes with a hood, no going and shelling out even more money, BenQ have got you (literally) covered.
Who is the Monitor for?
The monitor is a 4k, hardware calibrated monitor that has been design with photographers in specifically in mind. The monitor is a huge 31.5" display and working with all of that resolution is an absolute treat. The screen is immersive, the sheer size pulls you into the image and when using the provided hood, you feel cocooned in the monitor and fully engaged in your work with minimal distraction. The massive 3840x2160 resolution allows you to comfortably view your images and work space and has an enormous dynamic range that really fives your images depth.
Being a 10 bit IPS monitor, colour representation is great and the bit depth and in-plane switching gives you real confidence when viewing colours and considering final output. Colours appear deep and rich without seeming artificial and being 100% sRGB and 99% Adobe RGB, which is phenomenal in a monitor in its class.


One of the main selling points is the 4k feature. The monitor is hardware calibrated but it also has benefits from BenQ's Palette Master Element system. All of this means that brightness and colour is uniform across the panel. The Palette Master Element software also allows for a lot of customisation with your system. However, the monitor is amazing out of the box and you will be blown away from the moment you switch it on.
The final piece for the physicality of the monitor is the shading hood, which comes with the monitor, which is another indication of how BenQ have really built this for photographers. You do not need to go out and buy an additional hood, they know that you need one so they provide one! The hood even has a cut out for you to drop a calibrator through to save you having to disassemble the hood every time you calibrate, clever thinking indeed.
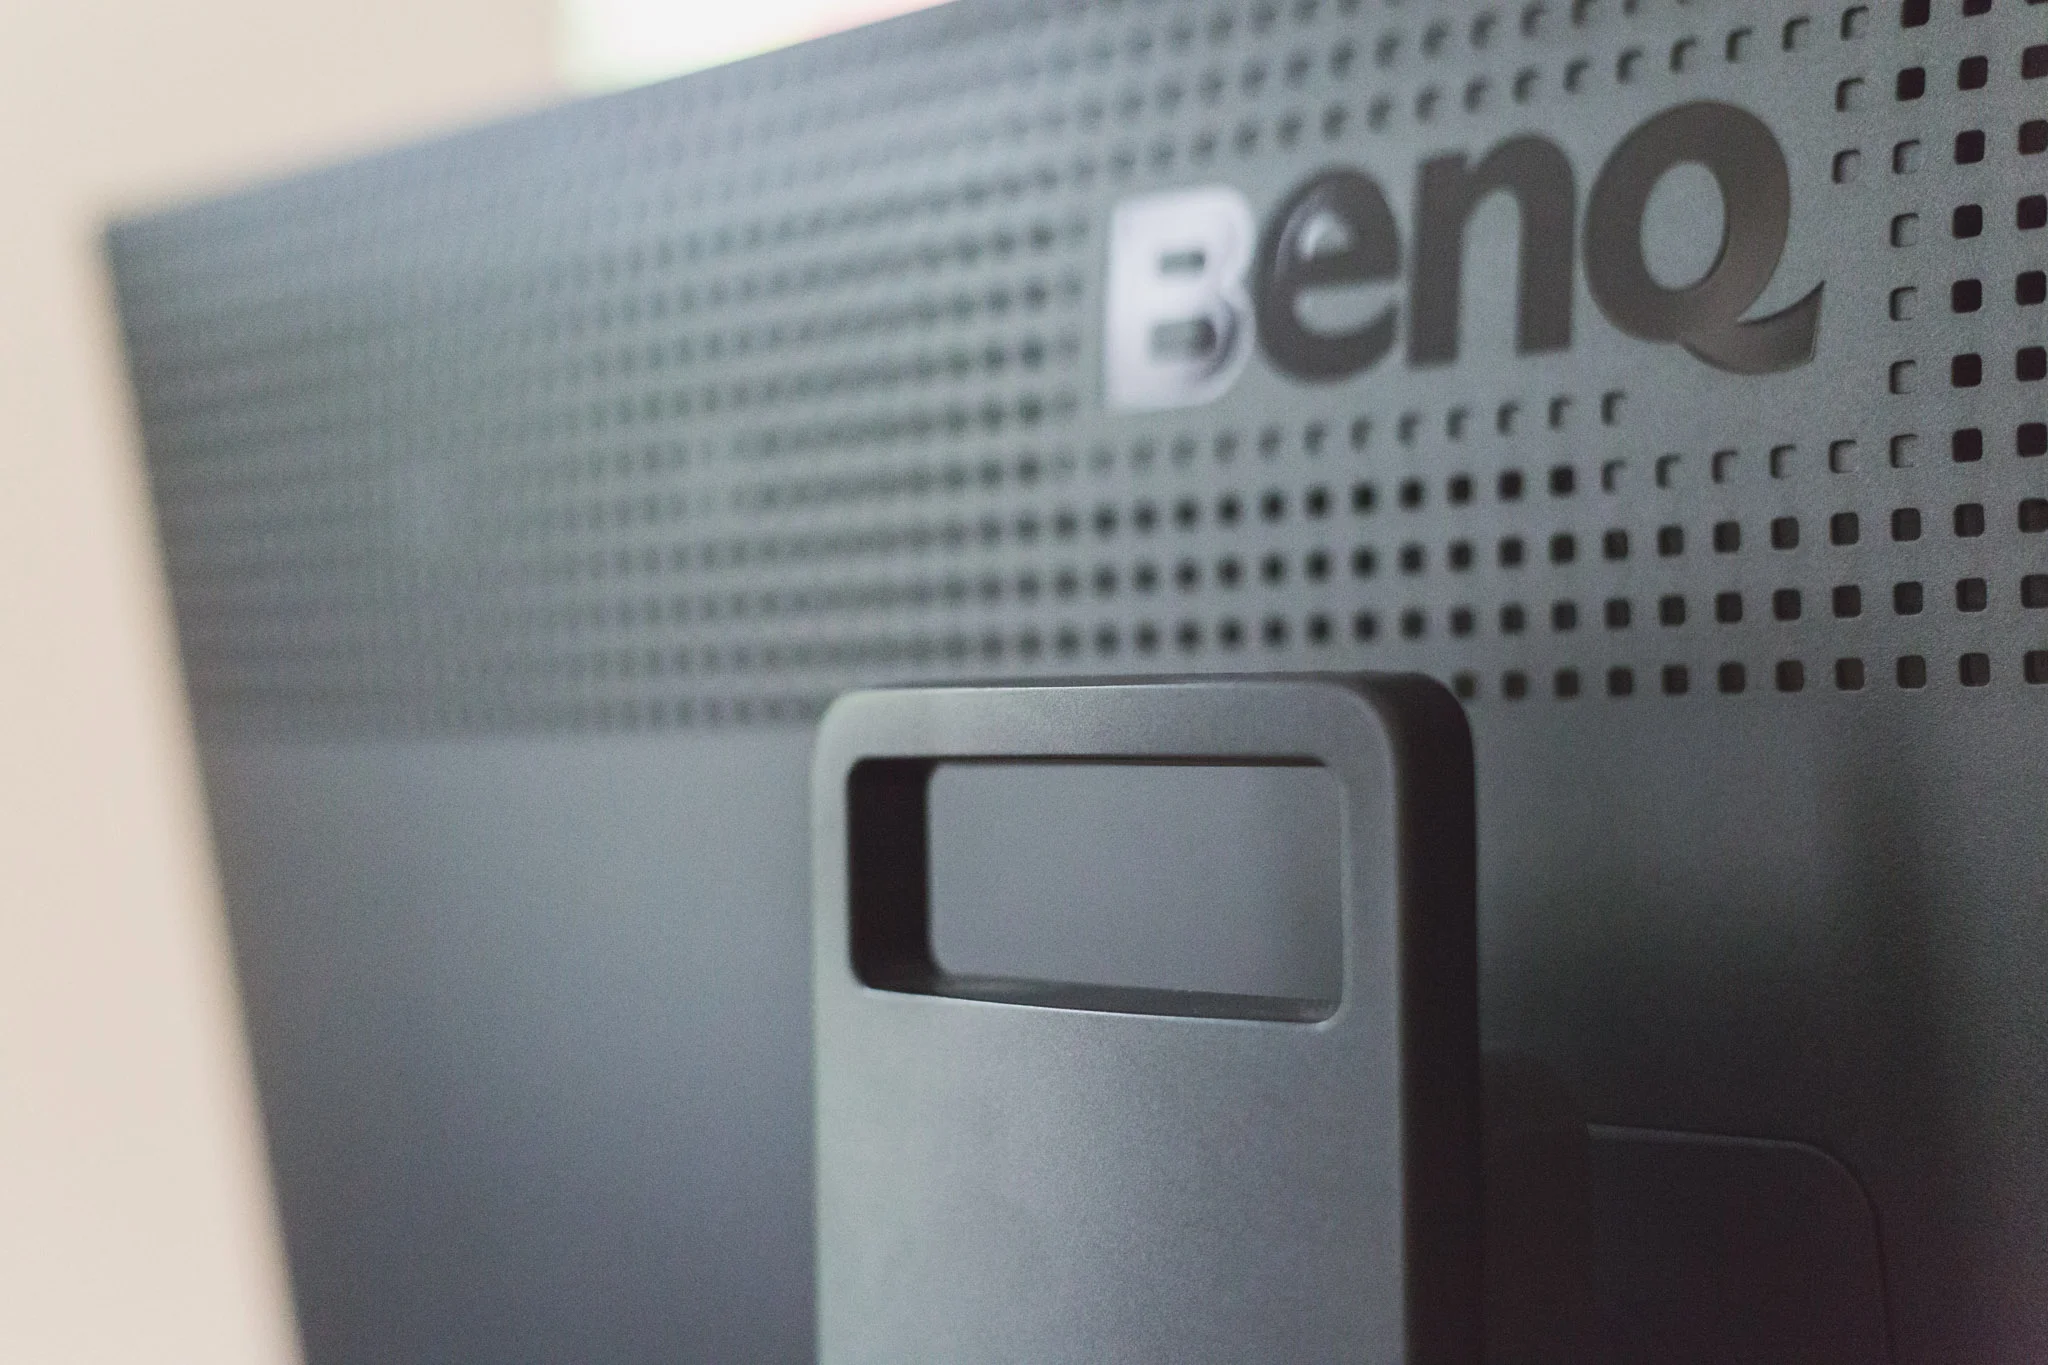
One thing that I have never seen before with a monitor is BenQ's new 'Puck'. It is effectively a circular remote that sits beautifully in a recess under the monitor and can be picked up and used to switch between preset or customised colour spaces and functions. Out of the box, it is set to sRGB, Adobe RGB and a black & white function which turns the entire display true b&w. They can be set to your own pre-saved calibrations, which is just a a lifesaver! This wasn't something that I ever thought I needed, until I used it and now it's not something I could live without.
The monitor is not only a pleasure to use visually, but ergonomically as well. For a piece of hardware this size, it is very easy to move and adjust the monitor. The design is business-like but actually fairly pleasing. The base articulates well and allows you to turn the monitor into portrait viewing, which would be exceptional for tethering in a studio. For a 31.5" monitor, the bevel doesn't feel too heavy or intrusive, the buttons are large a good size and reassuring and the hood does an amazing job.
Specs: BenQ’s headline features are listed as:
· 99% Adobe RGB Colour Space With IPS technology
· 31.5 Inch 4K UHD Resolution – matt screen
· High Dynamic Range (HDR)
· 1000:1 native contrast ratio
· 350 cd/m2 brightness, 5ms response time (GTG)
· DisplayPort 1.4, and HDMI 2.0 inputs
· USB 3.0 hub, Headphone jack
· Landscape / Portrait orientation
· Monitor shading hood
· Hardware Calibration With Palette Master Element Software
· 3-year warranty
Quality
This may get a bit technical so if you are not after a full technical break down, rest assured that the quality is amazing for the price. Monitors are measured in 'Delta E Values'. As a rule of thumb, the lower the Delta e the better. Anything below 5 is classed as good and anything around 2 is very good. The SW320 comes straight from the factory at less than 2 so you really are dealing with a very high quality product.
I was quite frankly blown away by the image quality and can’t really think how much it could be improved upon. Unfortunately, I do not have a few thousand of pounds worth of EIZO monitor to compare it to, but I just don’t see how it could be significantly better. An additional surprise was the build quality. This thing is robust without being to overwhelming but also sturdy without being cumbersome to articulate – quite an achievement.
Video Work
Doing video work on this monitor was simply amazing. Apart from being a 4k monitor, the sheer size once again helps with managing your work-space. Being able to use a preview mode at nearly half of that whopping 4k and still have plenty of room for all of the other module was a brilliant thing.
However, I chose to leave my setup pretty standard as the ability to see all of the available tools, media, information virtually in full was just too useful. Viewing nearly an entire projects worth of media makes sequencing an absolute treat as you're not constantly trying to remember which clips you have available.
Very similar to photo editing, colour grading was also easy and accurate when using the SW320. Viewing the projects back at 4k was also a real bonus. Being able to see true output before publishing gives you the added confidence that you are happy with the final product.
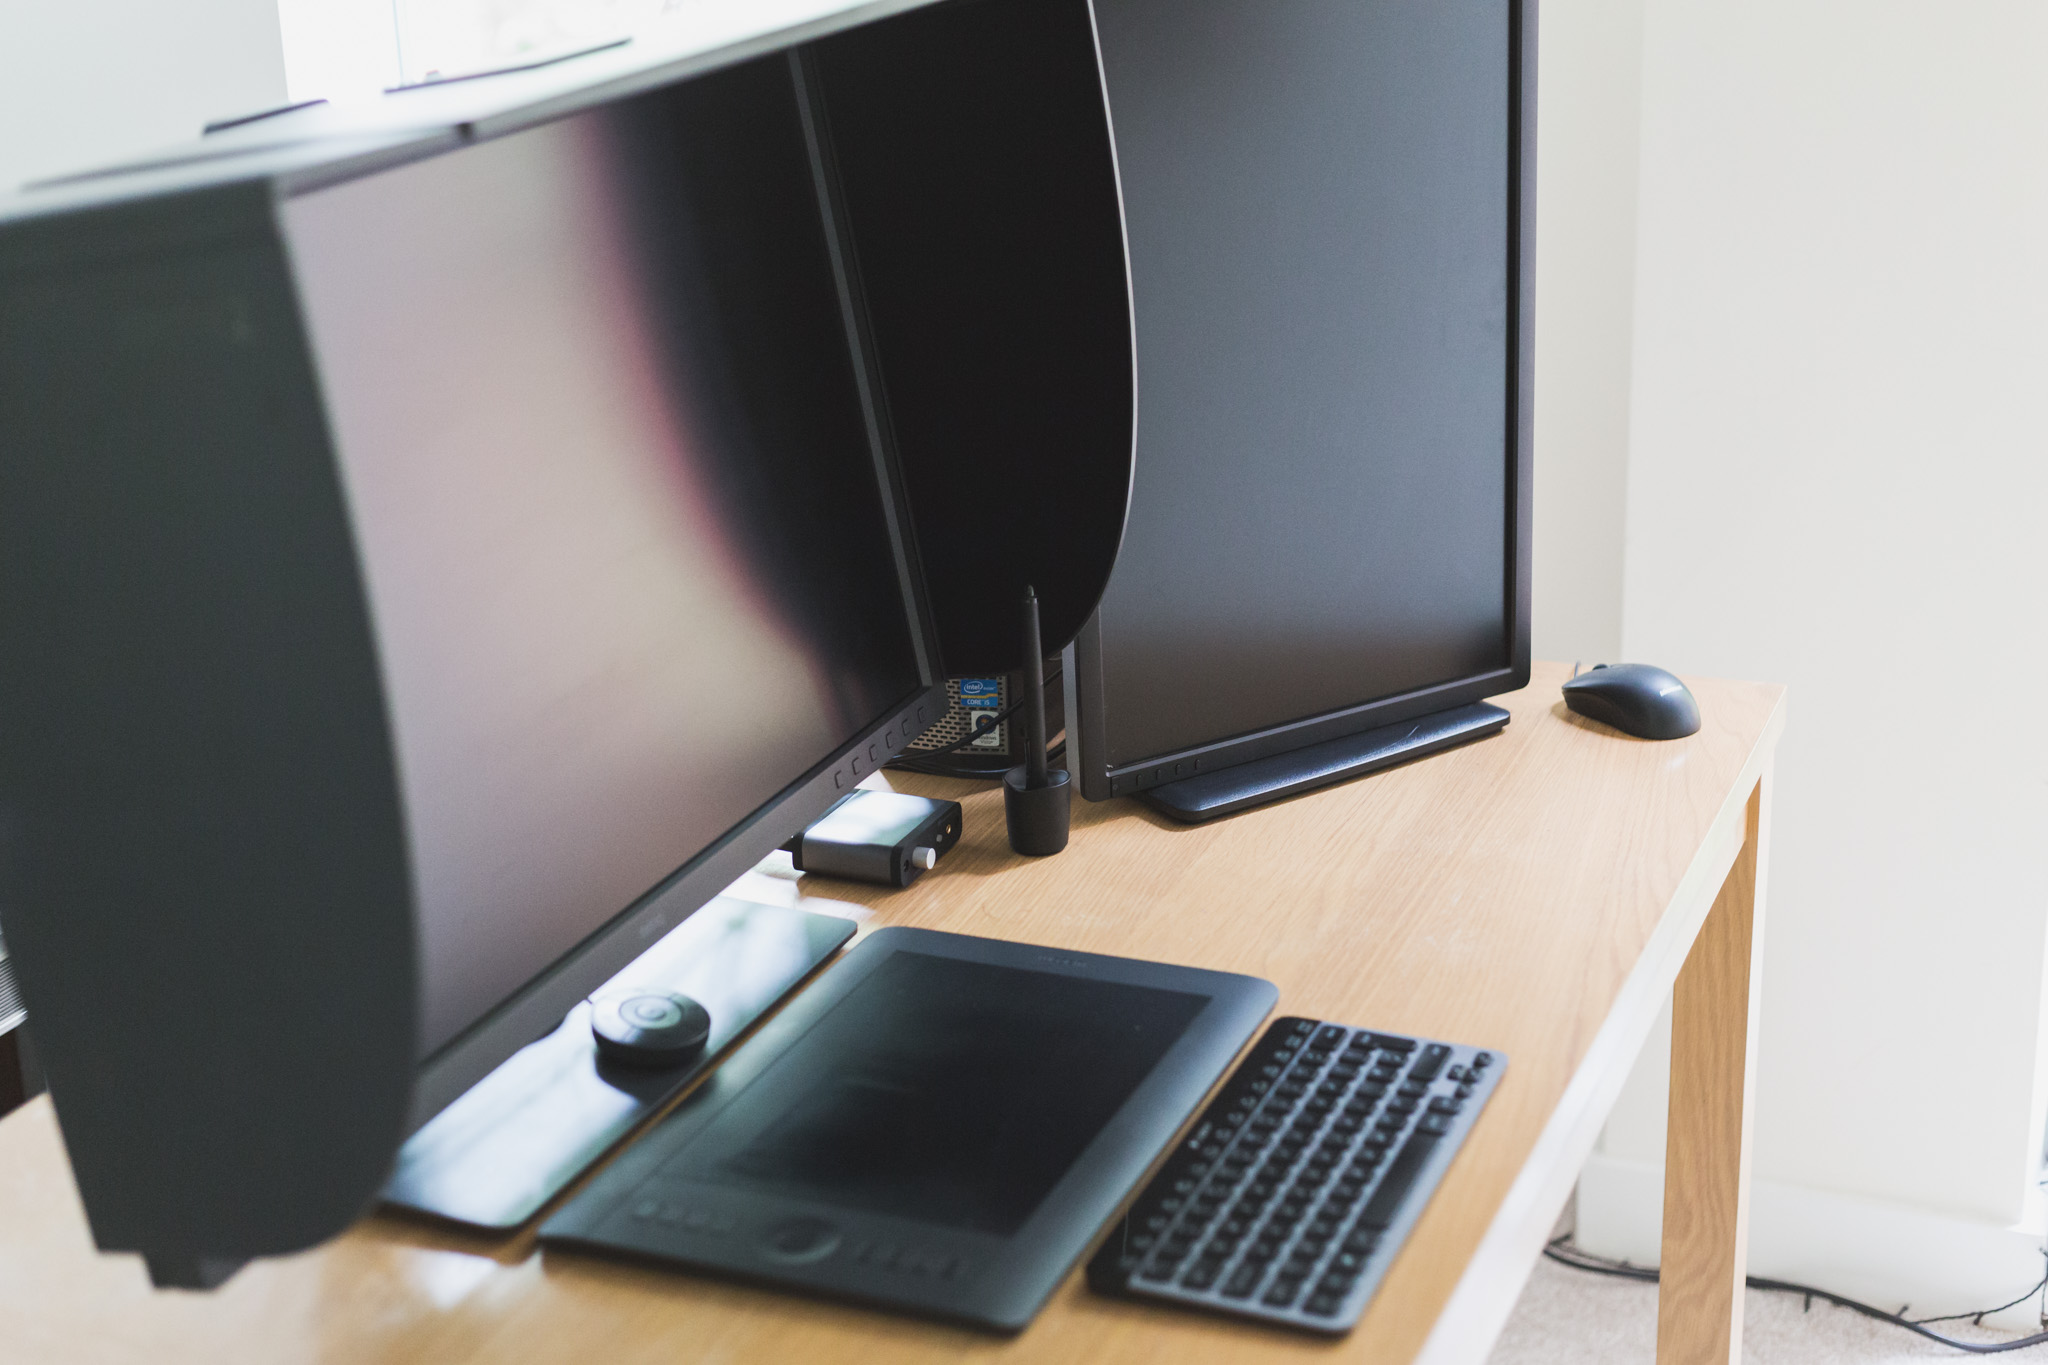
Dual Display & Productivity
My set up is fairly complex as I am using a PC for my main photo editing station and a Macbook Pro for some photo editing and video production. With the ability to set different calibrations, switching between the two was as simple clicking one button to select the input and then click another on the Puck to set the calibration.
I set my old Dell monitor up as a second display for the PC so that I could always have an Chrome browser available for checking social feeds etc. However, I soon found that due to the massive amounts of room on the BenQ, a lot of the time, I spaced the panes out in such a way that I didn't really need the second screen. However, when using intensive programs such as Photoshop and Final Cut, it was nice to delegate some of the less important things to the second screen.
Being able to view multiple programs and in particular, leaving Chrome open to deal with all of the social media channels etc. meant that I found I was actually far more productive. Rather than working in Lightroom and wondering if I was missing any exciting news meant that I would constantly be flicking between the two. Whereas having it on the same screen left me far more in control and focused on the real tasks in-hand.
Calibration
One of the most important factors in the photographers workflow is understanding how an image will appear at output, whether that is social media, a website or a print. For that reason, a correctly calibrated monitor is essential. There is no worse feeling than getting an image back from a Lab only to find out it looks dull & flat when it had popped on screen.
There are two main ways to deal with calibrating a monitor, software and hardware. Software does a pretty good job at working out what a monitor 'is' doing and telling you what it 'should' be doing. However, there is one big thing that this can not take into account and that is environment.


Hardware calibration however, not only reads the output of the monitor and but many, will also 'read' the lighting conditions in the room and work out the best outputs for those conditions. This is achieved by a physical calibrator that is placed n the screen that then takes hundreds of readings based on colour, temperature, luminosity and many other complex calculations. Basically speaking, hardware calibration gathers far more information to base adjustments on and usually yields better results.
More complexly speaking, hardware calibration does not compress any colours like software calibration is prone to do and with a monitor like the SW320, which can output colour-spaces like sRGB at 100% and Adobe RGB at 99%, this means you will achieve much more accurate, richer and vibrant looking colours. All this means that with correct calibration, you will struggle to find a much more colour accurate monitor in this price range, if any.
Working with the monitor
Due to it's size, working with the monitor is a pleasure. Photo editing is exceptional and even with my large CR2 files from the Canon 5D Mkiii, they almost fill that 4k resolution. Zooming in to do intricate clipping and cloning is particularly easy and I have already seen an improvement in this area of my workflow.
Whether working with colours or toning in black & white, the monitor just feels hugely responsive and rewarding to use. It is no exaggeration to say that this monitor makes you feel really in control of the image and the final output and that is worth the money alone. Using older monitors, I have always had a nagging doubt in my mind that the image would fall short when viewed in higher resolutions. This monitor gives you huge amounts of confidence.

I have struggled to come across a draw back with the monitor as it has been a genuine treat to use. It's sheer size and very business like exterior mean that it won't be suited to every situation and as I have a home setup in my living room, it looks somewhat out of place. However, the monitor is so well focused on the need of photographers and those working in visual fields, that aesthetics are a small sacrifice for the rewarding performance.
Should you buy this Monitor?
In short, if your budget is between £800-£2000, then yes. I personally think it would be worth stretching your budget to get this as you are getting so much for your money - don't go into debt for it but if this is the kind of price range you are looking at, then it's certainly an investment.
If you have a higher budget, the SW320 represents good sense as in this end of the market, the diminishing returns means that the BenQ is very capable of competing with monitor two or three times the price without feeling like it's lacking.
The look, feel and thoughtful extras (such as providing a hood and that little hatch for the calibrator) all resonate the fact that this isn't a product that has been thrown together to achieve some headline stats. This product has been built with the end user in mind and geared heavily towards professionals working in visually orientated fields such as photography and videography.
Final Thoughts
The quality of the product is great and the output is sensational. With competitors products costing roughly two to three times the cost of the SW320 for similar specs, it's pretty difficult to look beyond it. In fact, with that huge 31.5", 4k display, it will be pretty difficult to look beyond it full stop. Would I buy one? Well I have and I am more than happy with my decision.
For more information, please visit the BenQ website HERE
REVIEW: Samsung T3 Portable SSD 500gb
Samsung T3 500gb Portable SSD Drive
Perfectly Portable: Samsung T3 Portable SSD
As with most creative ventures, photography is resource heavy and two of the biggest that you need are speed and storage! Between my PC and my Mac, I have tens of Terabytes of storage and I am constantly shuffling around data from one place to the next, be it for a client or personal use. It can be incredibly frustrating and anything that makes it easier is a winner in my books!


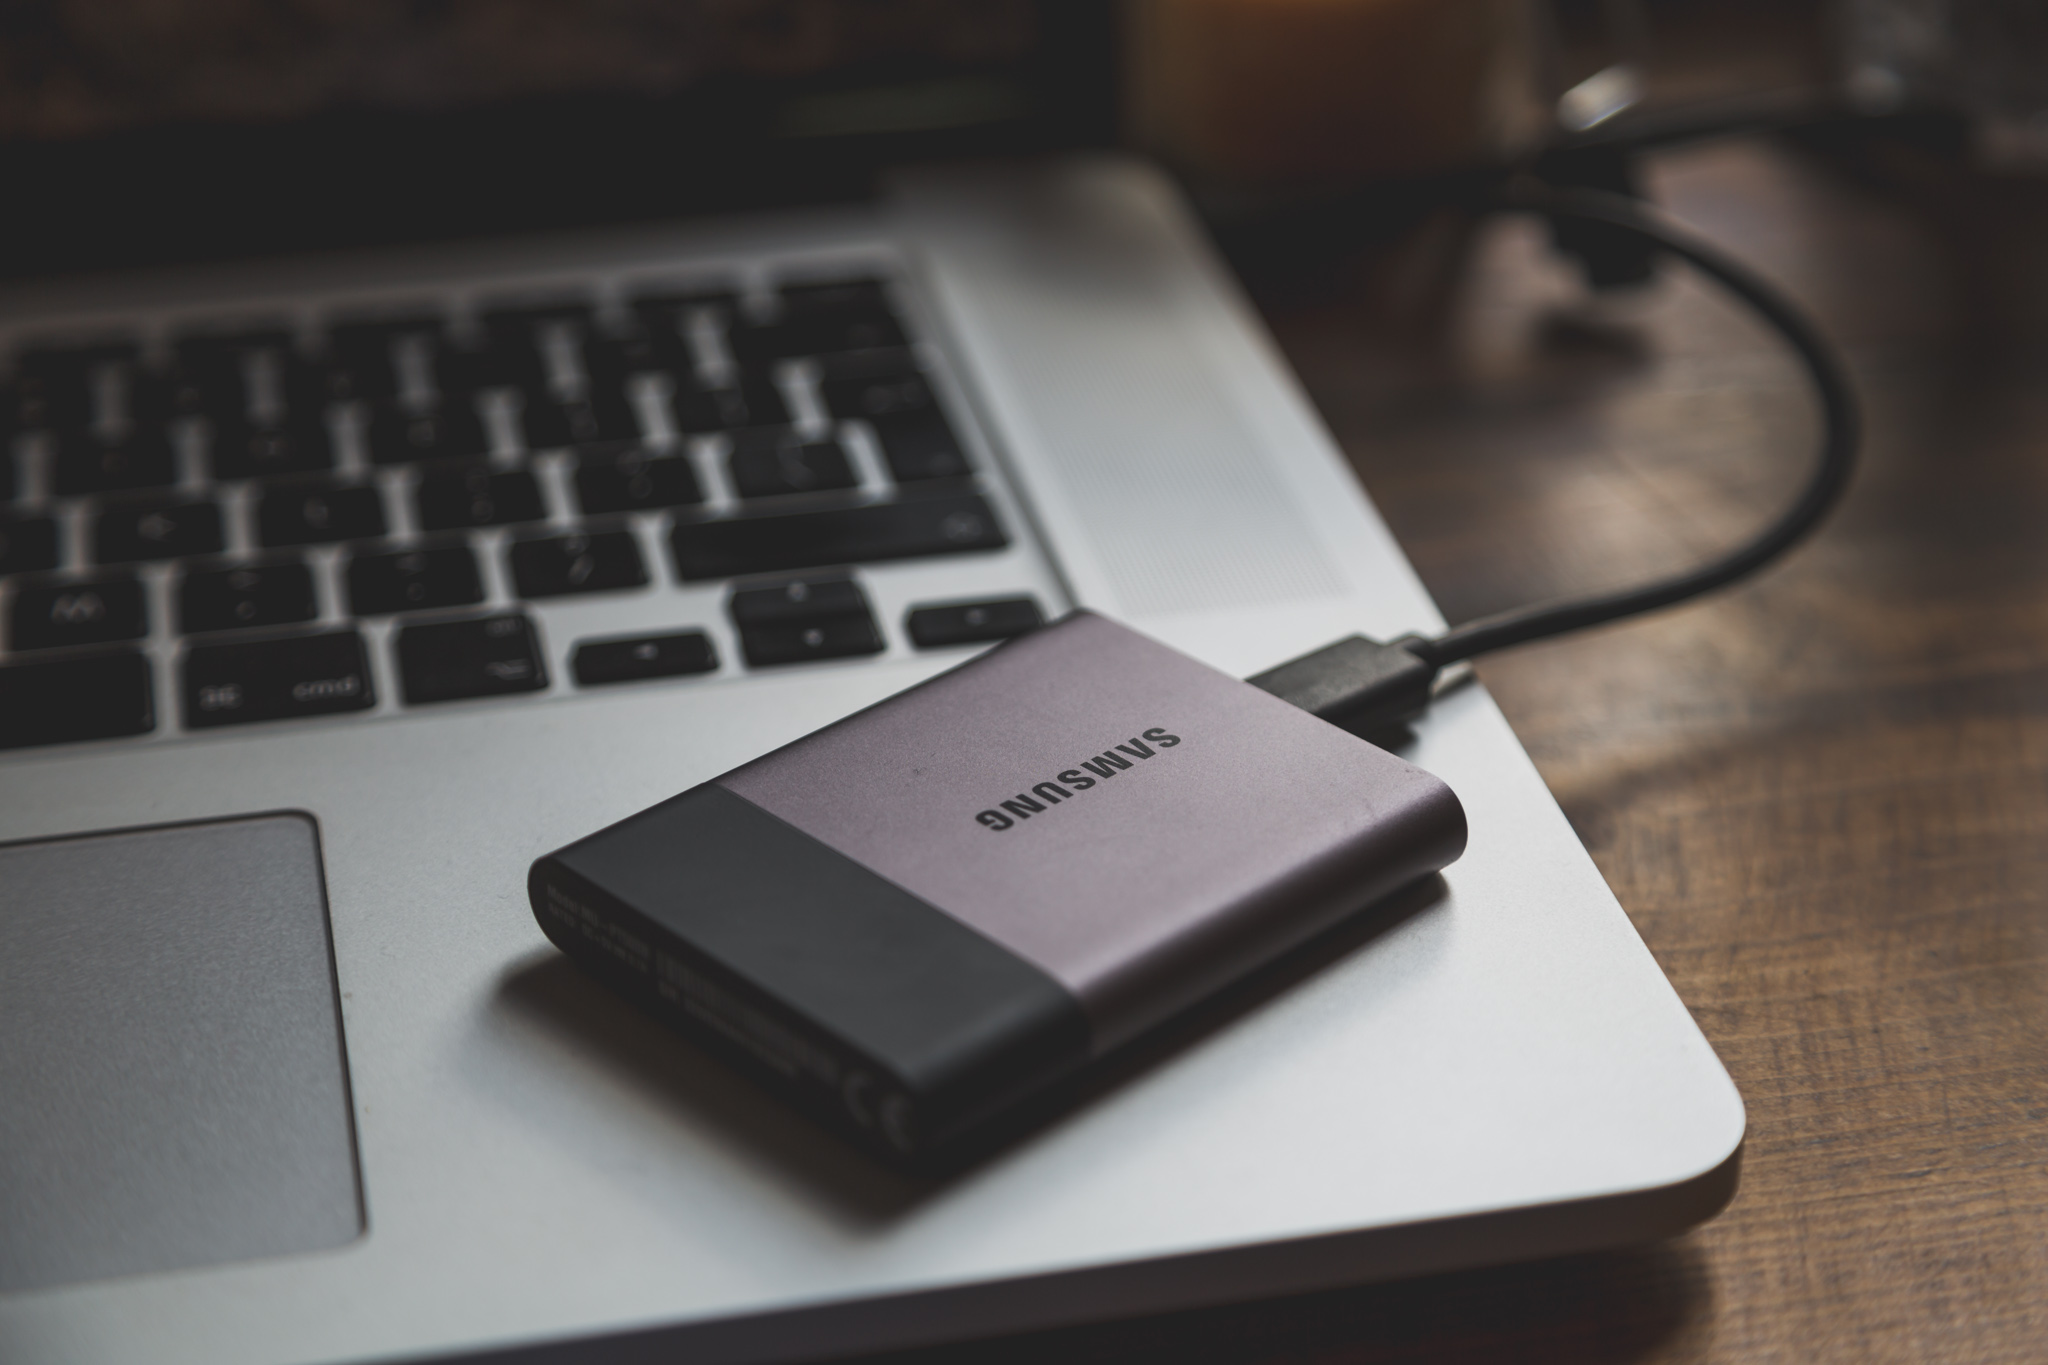
The Samsung T3 500gb portable SSD certainly seems on paper like it should be good and if it’s looks are anything to go by, then it will be a quality product! The little SSD drive is small, but not so small that it feels delicate, you can easily carry it in your pocket and it doesn’t feel conspicuous. Being 'Solid State' - you don't have to worry too much about things inside being shaken loose and there are no external snag and break off. Altogether, it's a very compact and pretty sturdy little package.
Who is it aimed at?
Well, the simple answer would be anyone that needs additional, portable storage. The longer answer is that this definitely has uses that will work wonders for Photographers & Videographers in particular. Large, fast storage is a must. I tend to shoot videos and try to edit them on the same day to distribute content quickly, this commonly means exporting all that video to my MacBook Pro and editing on the run.
The trouble is, I only have 500gb of SSD storage on the Mac and that fills up quickly! So I tend to keep all of my working files on an external drive whilst editing in Final Cut Pro. After using the T3 for this very purpose on a couple of occasions, I can say with confidence that it worked a treat and it was lightening fast! I didn't feel any real lag whilst editing and even scrubbing through video footage, it seemed to work perfectly. The Type-C connection did the job and seemed to be shifting data around without trouble. This is huge for anyone dealing with large files/video and at upwards of 450mb pers second, I doubt anyone will ever have a problem with speed.

Small but Mighty...
Specs
I was testing the 500gb model which was more than enough for my needs but the T3 range goes all the way up to a whopping two terabytes! At around £180 it's certainly not cheap but it does pack a hell of a punch so depending on your needs, the cost is more than justifiable. At around 8cm x 6cm and a depth of around 1cm, this thing is compact! It makes it truly portable and can easily be carried in your pocket, making it a suitable alternative to a USB stick with the additional bonus of way more storage. It's the perfect option for those the travel & work on a regular basis.
For connectivity, it has a USB Type-C port which are becoming more and more commonplace but you are provided with a Type-C to Type-A cable so it will work with all current USB formats including USB 3.1. Compatibility wise, this little gem is fine with Windows 7 and beyond for PC users and for Mac users, anything above OS 10.7 will be fine and also Android 4.4 upwards. This was particularly handy for me as I use both, so moving data was no issue.
I tested the drive with Crystal Disk just to see if what Samsung are touting is actually true and was reassured to find that the disk was as quick as promised. Read speeds were up above 430MBs and write speeds a comfortable 280MBs. In real world use, it actually felt like using the internal drive on my Mac so the performance was really very impressive. This may be particularly useful if you have an older laptop and don't want to swap out the hard drive. The only consideration is that it may be slower if using USB 2.0 - but it will still be a considerable improvement over a standard mechanical drive.
One final thing to mention is that Samsung have clearly thought of everything and have added a very clever security set up. The disk has software pre-installed on the drive that allow you to set up a login and password to access the drive. This is a huge bonus if you are travelling with the drive and have any concerns about security.


Real Life Test
So normally at this point I would talk about how I tested it with a few big files and it worked OK blah, blah, blah... However, the day I received the T3, I had a major emergency which involved getting 20gb of RAW files to a client in London overnight. The only problem, it was 7pm and with the best will in the world, my broadband wasn't going to be up to the task!
My initial thoughts were 'emergency trip to London' but after thinking a little more, this was ridiculous and I had to come up with a better solution. I planned on running down to Birmingham University and using their superfast broadband, but the guild closed at 9pm so I was in a real rush!
I decided to make use of the T3 and quickly plugged it into my USB 3.0 port and started moving files! I was genuinely amazed, the 20gb just flew across! It genuinely seemed to take seconds. I grabbed my laptop, shot to the Uni and proceeded to get the files uploaded. The T3 had already saved my bacon and had worked like an absolute trooper! From here on out, it felt like it would be an unbiased review!
In the following weeks, I did the typical moving files, using the T3 for Video and generally just taking it everywhere with me. The T3 just swallowed up everything I threw at it, worked perfectly and did it all in a stylish little package! What's not to like.
Small package, big performance...
Conclusion
This is probably the best portable drive that I have seen on the market. Given the option, I would always plump for the 2TB drive as, who doesn't like extra storage. The drive looks great, has shock resistance and is easily transportable. The performance is incredible and makes working remotely so much easier as there are little to no lagging issues etc. I would highly recommend this drive if you are in the market for portable storage. A full video review will be on the way soon.
For more information and more products, please visit Samsung
National Freelancers Day
National Freelancers Day

I recently teamed up with accounting software company QuickBooks to share my tips for National Freelancers Day on 8th June. QuickBooks have provided their range of accounting software to small businesses and self-employed people for a number of years. QuickBooks will be sharing a host of tips and interesting insights into the life of freelancers via their Resources Page - Why not claim your free thirty day trial of QuickBooks Software - HERE - Below are a few of my tips, why not share yours in the comments below.
Ross Jukes Photography – National Freelancers Day
Ross Jukes is a freelance photographer based in Birmingham. Ross has been self employed for several years and has worked with large multi-nationals such as HSBC through to small independent retailers in his home city. Ross shoots Landscape and Automotive work and carries out all aspects of running his business, from the day-to-day client work through to the Marketing, Invoicing and admin of running a business.

Tip 1) Get Creative
This is probably an obvious one coming from somebody that works in a creative field but I always try to get creative with all aspects of my business. In particular, I try to think of creative ways to market myself. Thankfully, I produce a very visual product so it is easy to think of ways to distribute imagery, but I’m also not afraid to try a few ‘old classics’ such as giveaways and competitions.
Tip 2) Think Ahead
I, like many other freelancers, always have to keep one eye on the future. I always like to keep an ‘emergency fund’ just in case things go bad or a piece of equipment breaks and needs replacing at short notice. However, ore importantly it means that you generally don’t get any nasty surprises. This is particularly true when completing Tax Returns, it always pays to have an idea of what will hit you at the end of the year so you can start saving in advance. If possible, just deduct the estimate Tax after an invoice has been paid and leave it in a separate account!
Tip 3) Get Organised
I am a really busy person and lots of clients need everything done immediately so it’s really easy to get distracted and let things slip. Therefore, it’s crucial that I stay organised. A few ways I do this is keeping on top of my calendar, generally using the Google Calendar app which is really easy to use. I also keep a Whiteboard with current and upcoming projects. I also make sure that I keep my desk space tidy and regular clean and maintain gear, including making sure everything is charged and ready to go before each job.
Tip 4) Have Fun
I am very fortunate to get paid doing something I love. So most of the time it is great, but there are still the times that everything gets a little bit crazy and you feel like the pressure is getting a little bit too much. It’s times like this that I make a conscious effort to go and and shoot for myself, just take a long walk and grab some photos or maybe plan a trip to the countryside. It may sound counter-productive to take some time to yourself but it really helps clear your head and make sure that you are still enjoying things!
Why not claim your free thirty day trial of QuickBooks Software - HERE